This is one of those projects that I never really planned on, but just sort of fell into. Let me re-phrase that. Sometimes sh*t happens. Er...
My toilet broke so I had to fix it. And I am utterly powerless against obvious puns.
(
I'm done now.)
It wouldn't flush! Simple fix. I lifted up the tank to discover that the chain attached to the handle was broken into two pieces, just as I expected. So I got in my car and headed to Home Depot. You're never going to see me complaining about making a trip to Home Depot.
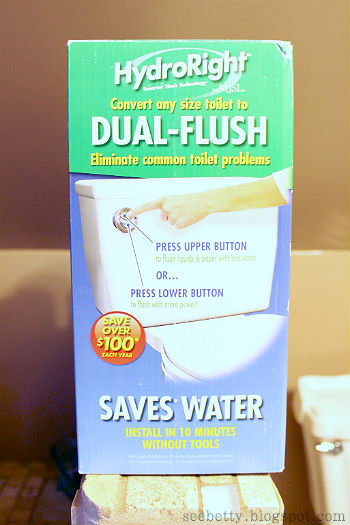
I went straight to the plumbing aisle, quickly picked up the chain that I needed, and proceeded to meander around the rest of the store like I do. I didn't get very far when I noticed this box...
I decided to take a chance on this kit that would forever change my toilet into a dual-flush, potentially saving me over $100 each year. The box also boasts that this can be installed in 10 minutes and without tools...
We shall see!
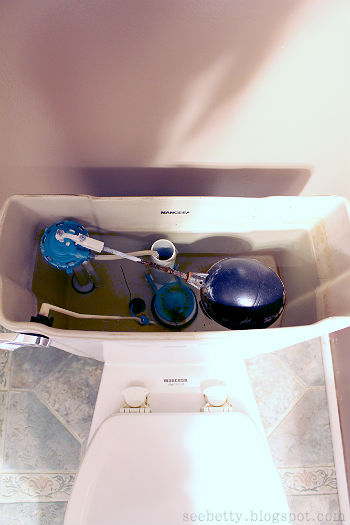
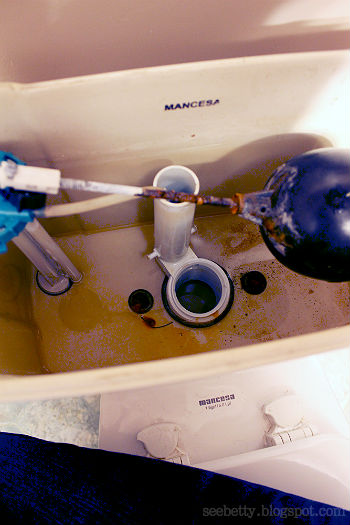
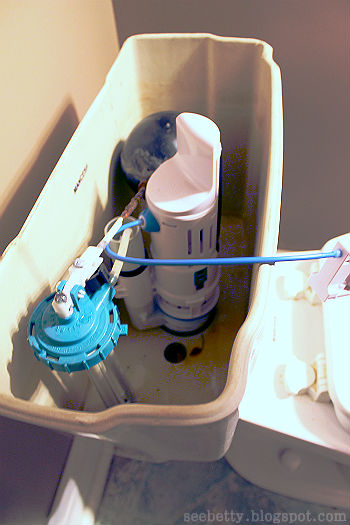
Here's a peek inside at the existing inner-workings of our lovely throne. I won't lie to you, there is no eye candy ahead.
I took everything out of the box. Not a whole lot of parts to it and they even include a little troubleshooting guide (this came in handy.) I followed the included instructions which were quite alright.
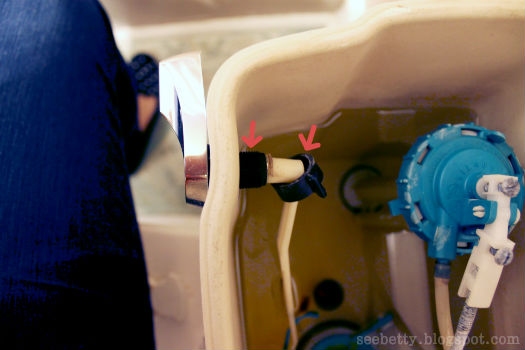
You adjust how much or how little water you want used with that green switch on the side and a blue one on the front. Blue controls the amount of water used for a "Quick Flush" (number 1s) while green controls the water used for your full flush (number 2s.)
I didn't really do the water testing like the instructions tell you to. I moved both switches to the most water-saving setting, tested it, it worked, I left it there. That worked for me, but every potty is different so you might want to follow the manufacturer's instructions to make sure you get the most savings in water!
You can start out by shutting off your water and letting the tank drain out so that you aren't fishing around in cold toilet water.
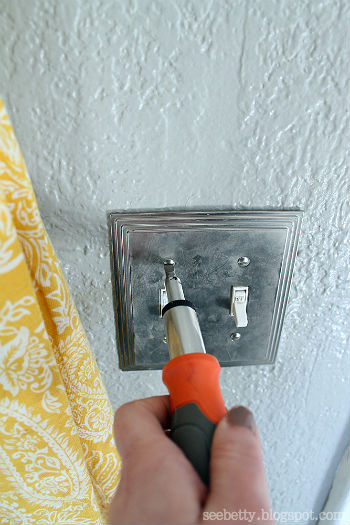
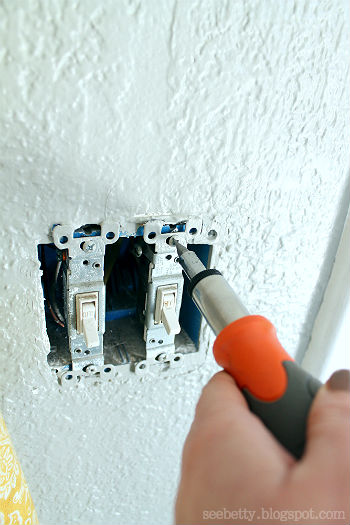
Once your tank is clear, go ahead and remove the handle and flapper!
My handle was easily removed by simply unscrewing a plastic nut on the inside. The little arms on the flapper part just snapped on and off. Easy peasy.
Then I took the big cylindrical piece and twisted the "Upper Housing" until it unlocked from the "Base" so that I had two separate pieces.
I slid the base down over my overflow tube in the middle until the blue silicone bottom sat right inside of my flush valve. It fit onto the overflow tube perfectly so I didn't need to tighten anything but if it hadn't, they include an extra piece ("Cam Adjuster") to fill the gap and a zip tie.
Slide the black rubber ring over the top to make sure that everything stays in place.
After that I could re-attach that upper housing to it's base by twisting and locking it back into place.
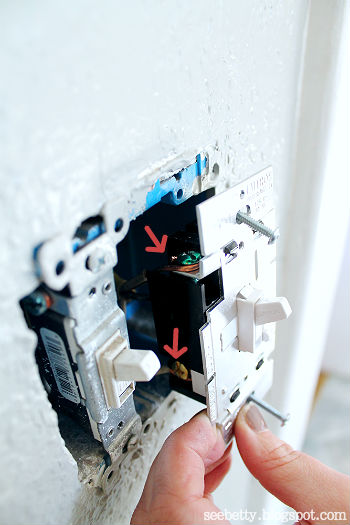
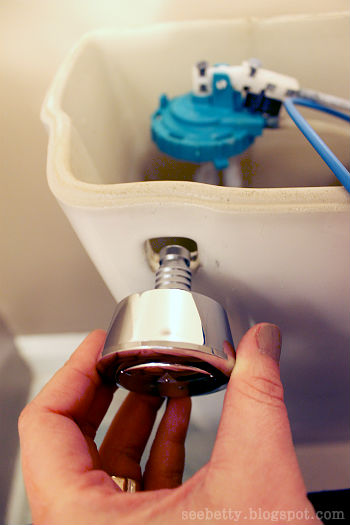
And last, but certainly not least, that cute little dual-flush button! I just popped it into my old handle's place, got it positioned where I wanted it, and tightened it by hand.
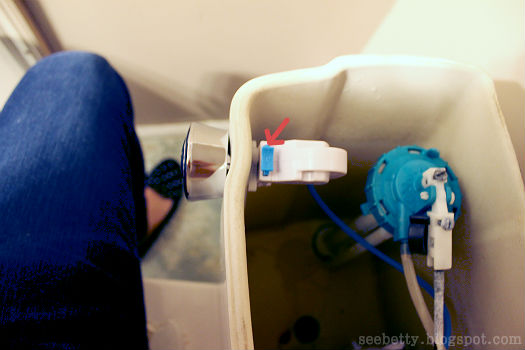
Popped the white control box into place by holding down that blue button and inserting it onto the back of the flush button, then releasing.
There you have it. Magic potty time and for way cheaper than buying a whole new one! This kit only cost me $20 and it really was easy to install. You might have to mess with the settings a bit to get it flushing just how you want it, but overall I say it's a great $20 well spent! Especially if this contraption holds up it's end of the bargain and saves me $100+ on my water bill yearly.
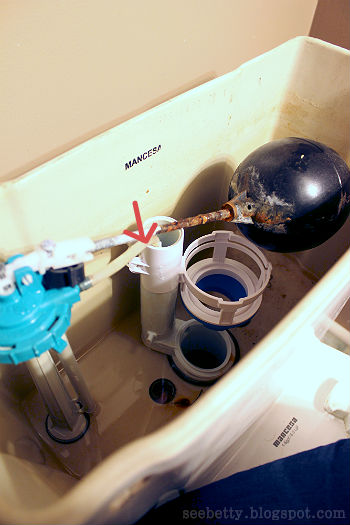
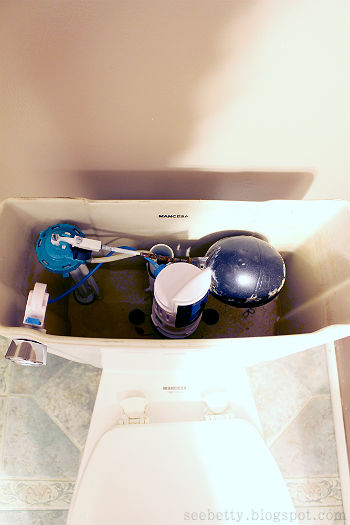
Here's a shot of the new set-up inside the tank.
As you can see I still have a - no laughing - "ballcock style" fill valve.
Hey, I said no laughing...
If your toilet has one of these you may need to upgrade to a newer one or purchase their other kit for $5 more which includes one. The dual-flush converter is big and could get in the way of this fill valve doing it's job.
I might do this for the downstairs bathroom and see how it goes. I'll stick with my old fill valve for now since the converter actually isn't obstructing it.
Out with the old...
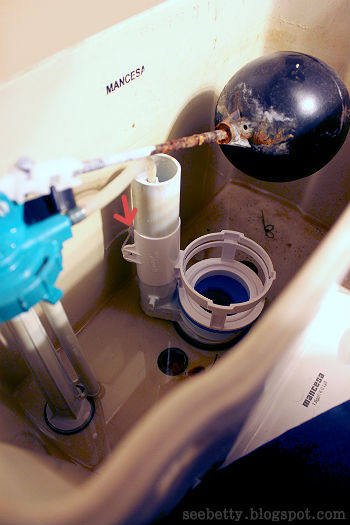
...In with the new!
Oh, the simple things...