Showing posts with label healthy. Show all posts

Wednesday, March 19, 2014

Kitchen DIY: Veggie Broth From Scraps

This is another great kitchen DIY that you can tackle whenever you have some spare time.  It only requires a few minutes of actual hands-on prep time and it's basically free.99!

I love knowing where my food is coming from.  I'm always trying to whittle down my kitchen rituals and recipes to the bare minimum and most simple, fresh ingredients.  This is good for the health and the wallet.


It can be a bit pricier to buy all organic, but I get what I can manage and use the "Dirty Dozen" and "Clean 15" lists as a guide.  These helpful lists let you know when you should try to buy organic and when it's unnecessary.

With this DIY I am getting more for my money.  By making your own veggie stock you'll be reducing your household's food waste by using the produce scraps that you might normally throw in the trash and getting a quality product out of that waste - FOR FREE.

So why not?!  This process is so simple and I really hope you'll give it a try!

I start off with a decent sized tupperware bowl that has a fitted lid.  Every time I find myself cutting up veggies for dinner, I just have my bowl out next to my cutting board and throw the scraps in that instead of in the trash can.
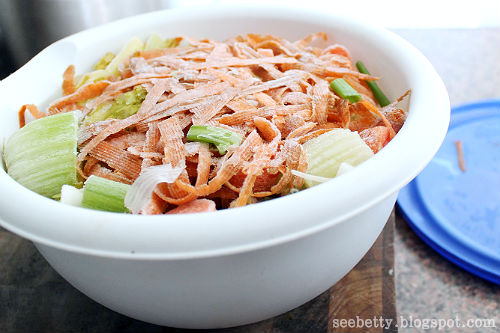


Throw everything in there.  Just make sure that you rinse your produce well beforehand.  I end up with mainly carrot, celery, and onion because they are such a great base in so many recipes.  I use them A LOT and always have some in my fridge.

In this batch I have celery ends and leaves, green onion ends, carrot tops and peels, onion and garlic pieces and peels (yes even the 'papery' outside,) and the tops and seeds from bell peppers.  Seriously, you can use everything!  Maybe not jalapenos, but that's up to you.  ;)

Chances are you're not going to fill up your bowl right away.  After I add my scraps to it, I keep it in the freezer, taking it out to add more any time I have more veggies to cut up.  When the bowl is filled it's time to make stock!
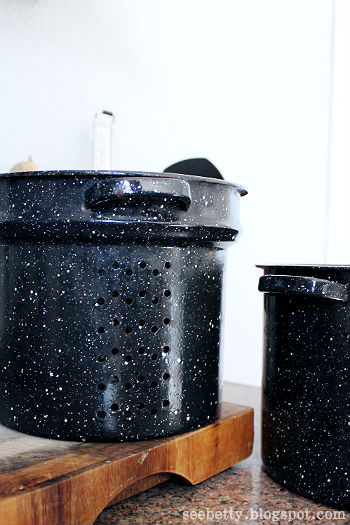


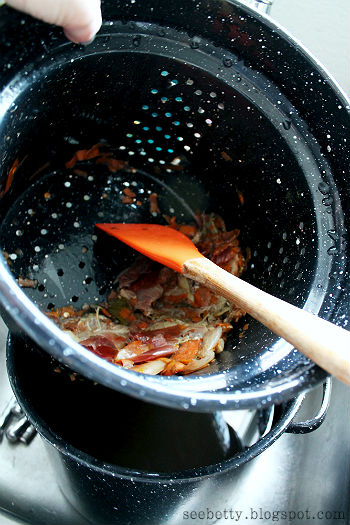
You'll need a big pot to boil it all in.  Anything that will hold at least a gallon of water will work.  I use this stock pot with the hole-y insert for easy straining.

Just dump all your veggies right in!  You can adjust your flavors depending on what you've got in your veggie collection.  I usually decide to add more garlic so I smashed 5 extra cloves and tossed them in, paper and all.
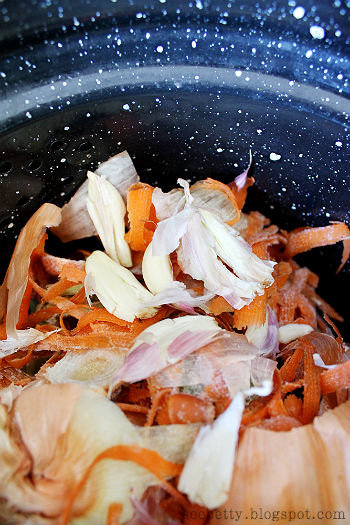


Then I added some simple spices that I have on hand: bay leaf, salt, and pepper.  Adjust these to your preferences.  I used about 2 teaspoons of each.


Next, fill your pot up with about a gallon of water.
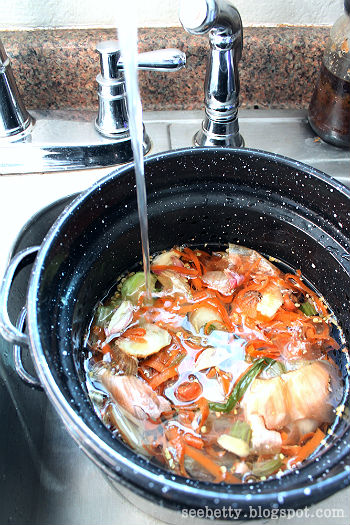


Bring your veggies to a boil and then turn the heat down a bit and let them simmer.  I let mine go for about 3 hours.
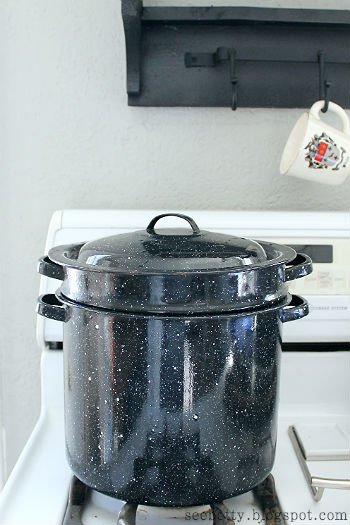


And that's all it takes to get your homemade veggie stock started!  It takes awhile to boil, but throw it together in a few minutes and then forget about it while you get other things done around the house.  It's that simple.  Great for a lazy Sunday or day off ritual.

After 3 hours of simmering, I have this:


Turn the heat off and forget about it once again until your stock is cool enough to safely handle.

Strain it into another bowl using a colander.  This will take care of all the big chunks of vegetables.  I use a spoon to squeeze as much liquid from the leftover veggies as possible.  Don't want to leave any flavor behind!
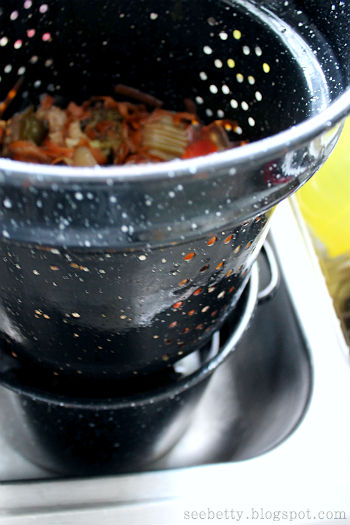


Once I have all the bigger pieces out, I use my glass measuring cup to carefully pour the stock through a fine mesh strainer and into my plastic containers.  (You can use a cup, ladle, or just try pouring straight from your pot!  Work with whatever you have on hand.)  This takes care of any remaining little bits that are in your stock.  If you don't mind them, you can always skip this step.


Here's an example of what I had leftover in my strainer after pouring the whole batch through it.  This just takes care of the bay leaf bits and any seeds or small debris leaving a pure and smooth broth.


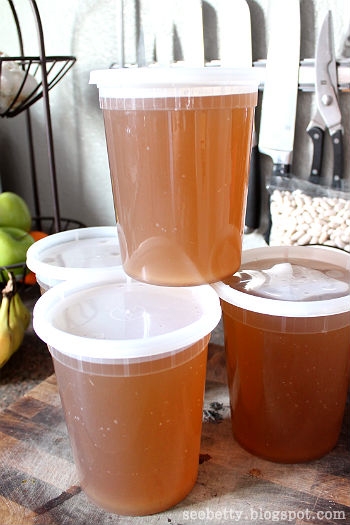
And that's it!  With what I would've tossed in the garbage, I now have 4 quarts of simple, healthy veggie broth on hand for practically NO COST and little effort.  There's no beating that.

I keep them in the freezer unless I know I'll be using some right away.  That way I always have some on hand.  It's great to have a stash when I need it and can be a lifesaver when I want a quick dinner fix.

Soup!


I'll be trying out this delicious sounding sauce from Pinch of Yum for tonight's dinner, using my homemade veggie broth as the base!  I can't wait to try it.

Is this something that you'll start doing?  What would you make with your homemade veggie broth??  If you have a great recipe, feel free to share!

Thanks for reading!


betty signature

Wednesday, March 5, 2014

Yogurt Inception

Did you actually come here to read this?  That's awesome, but I'm going to warn you;
It's yogurt, on yogurt, on yogurt up in here.

I have a slight problem when it comes to ice cream.  Admitting that you have a problem is the first step, right?

I love making homemade treats that I can have around to indulge in without feeling too guilty.  I've been dying to try making my own frozen yogurt concoctions and I was hit with a wave of motivation after my diy yogurt actually turned out amazingly.

After a bit of internet research I felt confident enough to borrow my mom's ice cream maker.  I wanted to put together the most basic recipe I could without sacrificing deliciousness for healthfulness and here is where I ended up -

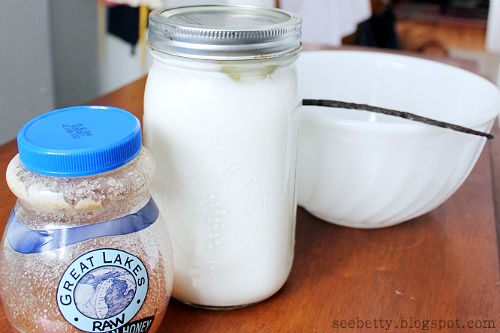
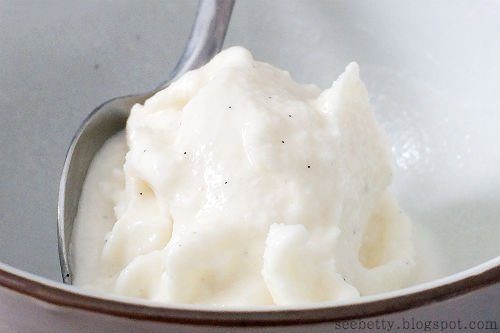
I used only 3 ingredients: raw local honey, my own homemade plain yogurt, and one vanilla bean.  And apparently that's all you need because it turned out amazing.


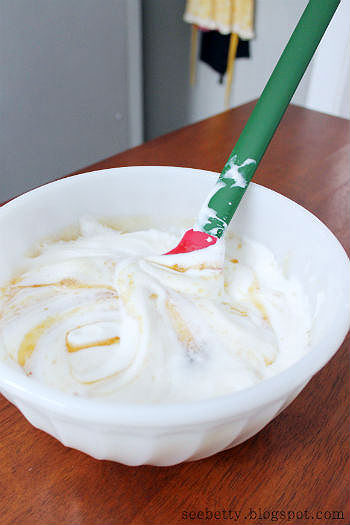
I dumped the whole quart of yogurt into a bowl along with 2-3 heaping tablespoons of honey.  You can add more or less depending on how sweet you want it, but a couple big tablespoons was plenty for me!  I do like it to keep some of the yogurt's tartness.


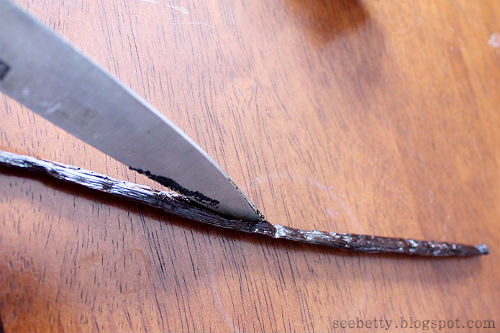
Then I took my vanilla bean and carefully sliced it right down the middle with a paring knife to open it up.  Use the knife to scrape the tiny seeds out into the bowl.

I'm sure you could probably just use a couple teaspoons of vanilla extract too, but I had some beans on hand and I figured "why not?!"  They do add some character to the finished product.


And who doesn't like their dessert with some character?  That's like, the number one thing you're thinking about when you dive into a quart of froyo, right?

Yeah...  Didn't think so.  So throw a couple splashes of vanilla extract in there.


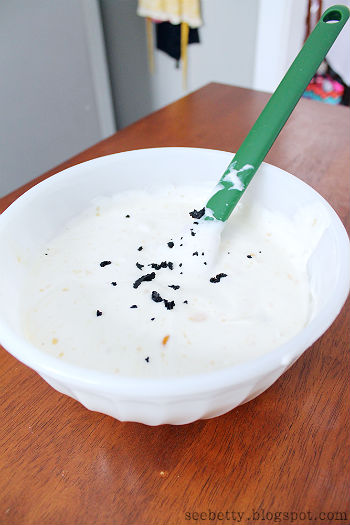
Now give the yogurt a nice mix just until everything is swirled together.


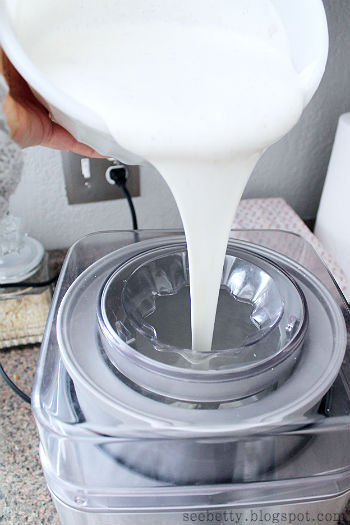
Now you'll want to follow your own ice cream maker's manufacturers instructions.  For my Cuisinart here I just pop in the freezer bowl and mixing paddle.  Turn the switch to the 'on' position and once it's started, pour my yogurt mixture right in the top.


All that's left to do is just try to forget about that incredibly simple and tasty treat you have coming and pat yourself on the back...

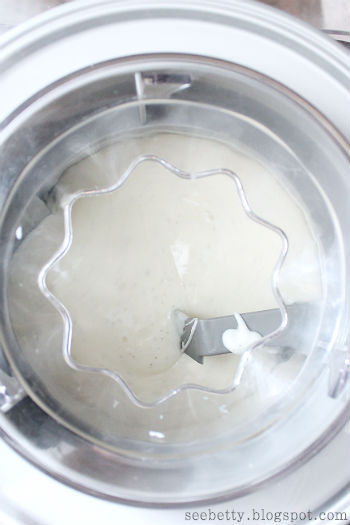
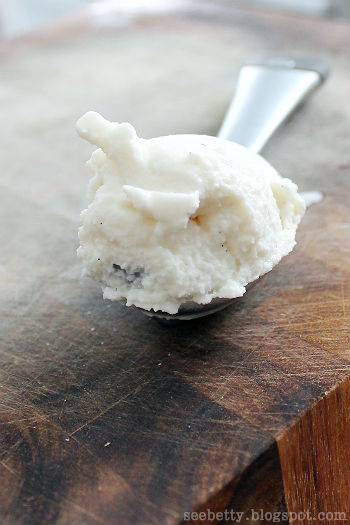
Sure.  Or you can hover over the machine for 30 minutes like I did.  Watching your honey and yogurt concoction go from this - 


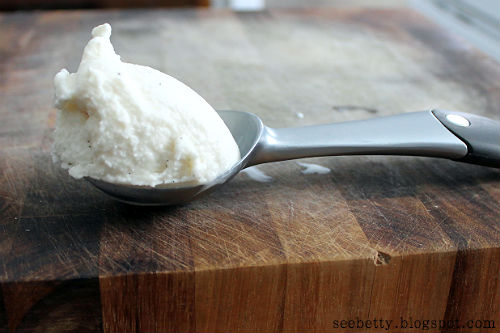
To this - 


Glorious.


If you check back on your yogurt after 30 minutes and it doesn't seem as firm as you'd like, just let it go another 5 minutes or so.


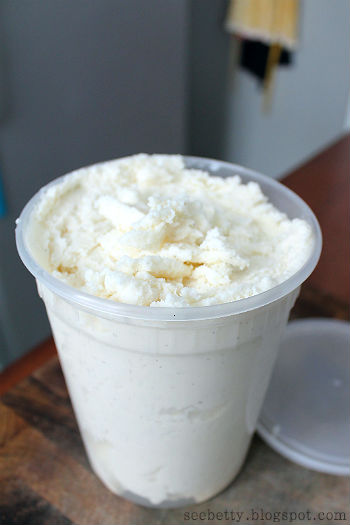
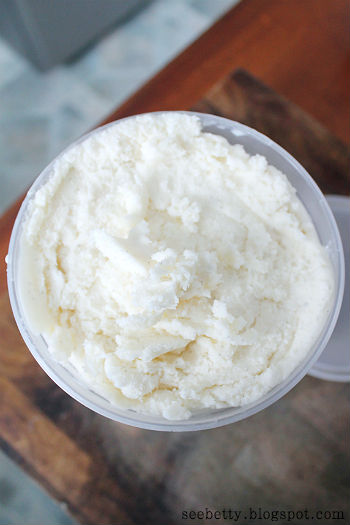
I packed all that goodness into a freezer-safe container for later days.  These are actually Chinese food containers that we ordered on Amazon a while back.  They have a good thickness to them and tight sealing lids, great for holding hot or cold foods.  These are my favorite storage containers and they stack together so nicely!  Not to mention they're pretty cost efficient too.  Here are some similar.


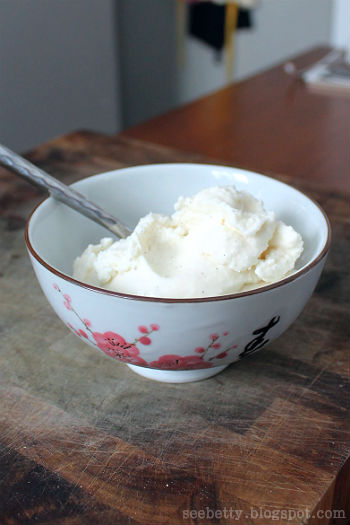
That bowl lasted about 12 seconds.  This stuff is seriously tasty.  It came out just like I wanted and I love knowing that with just 3 simple ingredients that I always have on hand, I can have this whenever I want.  Ah...life is good, people!


This frozen yogurt is just begging to be customized with toppings, don't you think??  Maybe some more honey and granola?  Cinnamon?  Fruit, chocolate, pecans...you get my drift.

Enjoy and thanks for reading!


betty signature

Tuesday, February 4, 2014

Kitchen DIY: Homemade Yogurt

DIY doesn't strictly apply to things like making your own jewelry or getting creative with some nailhead trim.  (See what I did there?  I linked you to a couple pretty amazing little DIYs.  You're welcome!)

It doesn't have to mean getting out the power tools.

I really get a kick out of making all sorts of things from scratch.  And I don't know about you, but scoring a great deal on anything is an unmatched adrenaline rush.  That's why when I stumbled on the idea of making my own yogurt for a fraction of the price, I went for it.  I spent a lot of time researching the process on the good ol' internets.  I found a lot of great information on different blogs and websites from people sharing their own trial and error advice.


One of those blogs was Bacon in my Pocket.  Ma Bacon sums it all up!  Choosing to make the plain yogurt (I always get plain greek yogurt and add flavor later with honey, granola, fruit, etc.) I followed her procedure exactly and it was a success.


The only differences:

  • I used full fat milk.
  • I used a 5.3 oz. cup of Chobani plain greek yogurt as my starter yogurt.
  • I left mine to incubate for the full 10 hours.


It came out perfectly thick and delicious.  As somebody who loves their yogurt, I couldn't be happier with the results.  I use it for sooooo many things; a substitute in many recipes (Shaun says these are his favorite pancakes now) and eating it for a light dessert with some honey and granola.  Which makes it all the better that it only cost me $3.28 for 4 quarts as opposed to the $22.76 I would spend for the same amount at the store!


This is definitely a diy that I will continue doing.  It's too easy not to if you have the time, why not?  I'm also a control freak and knowing exactly how, where, and with what my food is made is very appealing to me.  


I'm pretty impressed.  Never thought I'd be growing up and making my own yogurt and all.  Think you'll try this?


betty signature

You might also like:

Related Posts Plugin for WordPress, Blogger...