Showing posts with label kitchen. Show all posts

Monday, April 14, 2014

Complete World House Domination

Not only am I a total control freak, but I also try to take the eco-friendly route when possible.  That's me, folks; savin' the world while settin' the mood.

I've been wanting to tackle a little electrical project ever since refurbishing my chandelier.  Having the bulbs right out there can make for some harsh lighting at times.  I love a good dimmable light. 

Here's what my switch plate situation used to look like:


(Please ignore finger smudges galore.)


The switch on the left controls the kitchen lights.  I wanted to keep this switch the same, but swap out the dining room one on the right for a dimmable option.

Enter Lutron Eco-Dim:


I picked this switch up at Home Depot for about $15.  There were many options so I'll tell you why I went with this one.

  1. I want all of the switches in my house to match.  It would be kinda weird if there was just one that didn't fit in with the rest; and all of them are toggles.
  2. If not for reason number 1, I still have the kitchen light switch to think about.  If I went for a different look for one, I would have to change both.
  3. Then there would be the whole buying a new switch plate deal.
  4. It was cheaper than a lot of the other looks.  ...And I'm cheap.
As you can see on the package, this one can be used with both a single pole or 3-way.  My chandelier is a single pole because it only has one light switch.  If it had two switches (sometimes a light has a switch at both ends of a room) it would be a 3-way.  This is something you'll want to keep in mind when shopping for a dimmer because not all of them work with both kinds.

Another thing that you'll want to figure out before purchasing is whether or not you have the right kind of light bulbs.  The bulbs I already had were energy efficient, but these do not work on a dimmer.

This is one of the old bulbs:
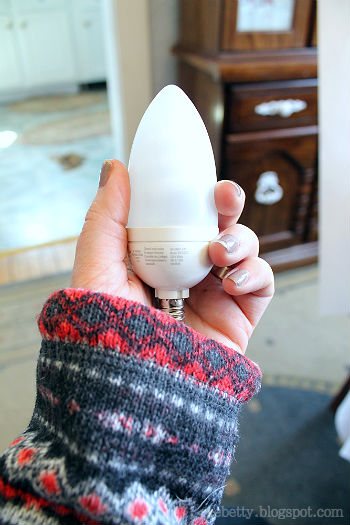


They do make dimmable energy efficient bulbs so pay attention to your packaging and be sure you're getting the right ones.

These are what I got to replace my old bulbs:
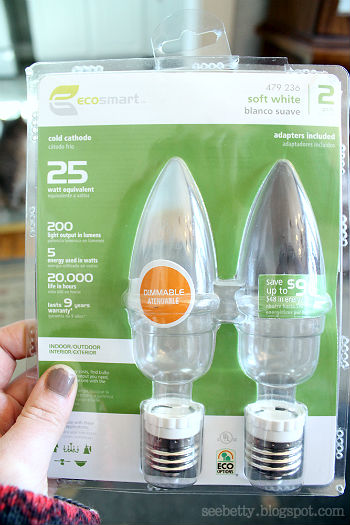


They cost $45 for 6 bulbs, but it wasn't too painful considering the previous ones had come with the chandelier (which I paid $4 total for...BONUS) and the new bulbs included adapters that let them fit into any light that a regular size bulb would.  So I can screw those onto the old bulbs and use them wherever!

Now I feel like I've done a lot of blabbing already, but first thing's first...

TURN OFF THE ELECTRICITY BEFORE YOU START!

Please don't forget that very important step.  That would suck.  Go down to the breaker box and cut off the electricity to your switch, or you can do what I do and cut off the electricity to the whole house because you're extra paranoid.
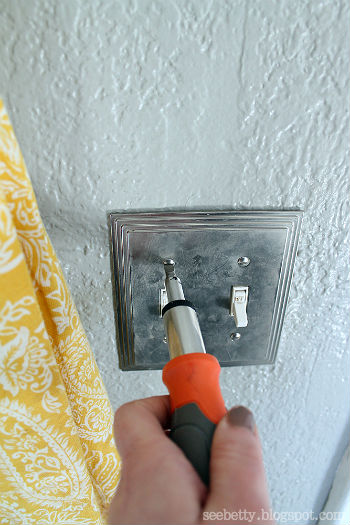


Then I removed the filthy switch plate and the switch on the right side only.
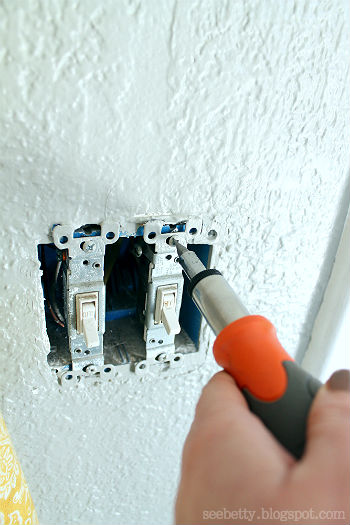


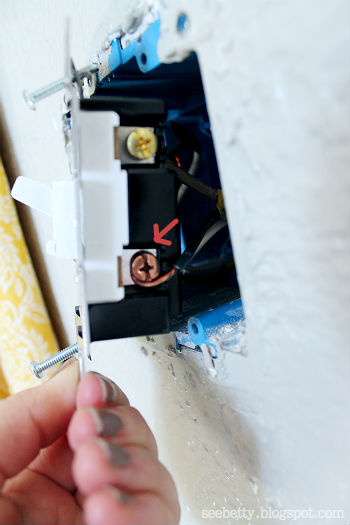
I easily detached the wires by loosening the screws that hold them down to the sides of the switch.
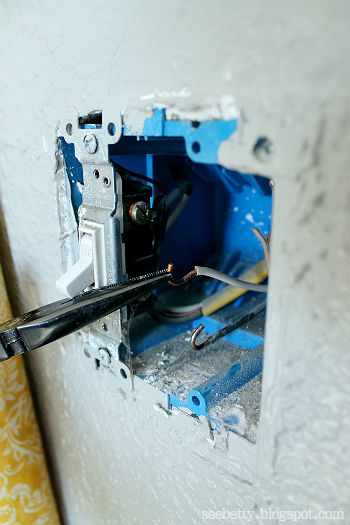


After that I simply reattached them to the new dimmer switch in the same spots and tightened the screws to hold the wires in place.  Here mine are in the pictures below.  The green screw on the top is for the copper ground wire.
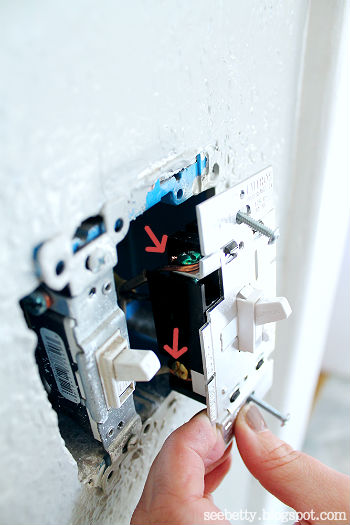


I shoved the switch back into the wall and secured it with the top and bottom screws.  Then I headed down to the basement to flip the power back on.  I wanted to test my handiwork before I had it completely put back together.

Put the switch plate back on and that's all there is to it!
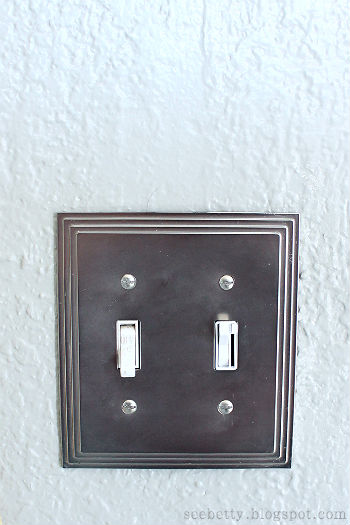


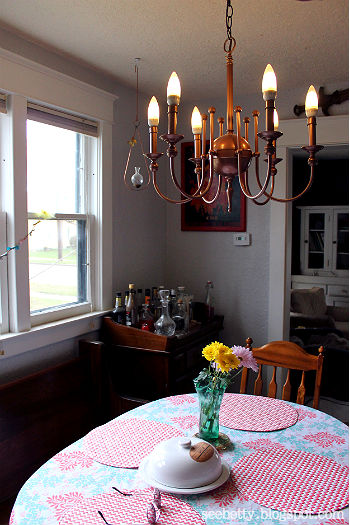
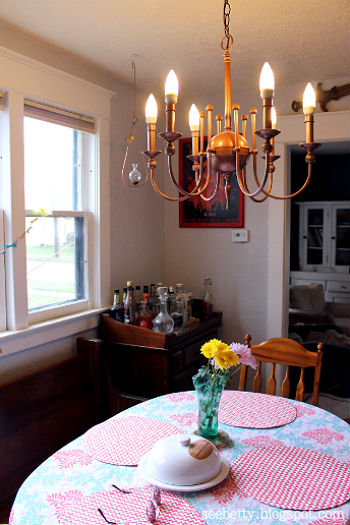
How about a few action shots??
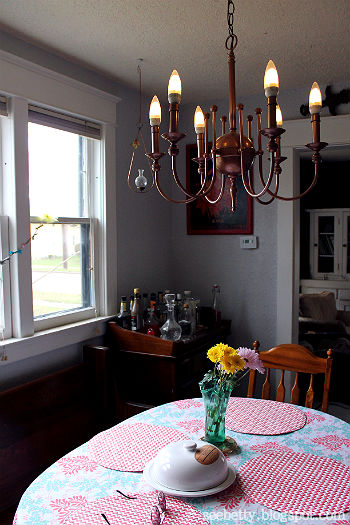


I've been wanting to be able to dim these lights down for SO LONG!  Now that I know how simple it is, I can't believe I didn't tackle this little project sooner.

Do you have any rooms that you'll be adding some mood lighting to?


betty signature

Wednesday, March 19, 2014

Kitchen DIY: Veggie Broth From Scraps

This is another great kitchen DIY that you can tackle whenever you have some spare time.  It only requires a few minutes of actual hands-on prep time and it's basically free.99!

I love knowing where my food is coming from.  I'm always trying to whittle down my kitchen rituals and recipes to the bare minimum and most simple, fresh ingredients.  This is good for the health and the wallet.


It can be a bit pricier to buy all organic, but I get what I can manage and use the "Dirty Dozen" and "Clean 15" lists as a guide.  These helpful lists let you know when you should try to buy organic and when it's unnecessary.

With this DIY I am getting more for my money.  By making your own veggie stock you'll be reducing your household's food waste by using the produce scraps that you might normally throw in the trash and getting a quality product out of that waste - FOR FREE.

So why not?!  This process is so simple and I really hope you'll give it a try!

I start off with a decent sized tupperware bowl that has a fitted lid.  Every time I find myself cutting up veggies for dinner, I just have my bowl out next to my cutting board and throw the scraps in that instead of in the trash can.


Throw everything in there.  Just make sure that you rinse your produce well beforehand.  I end up with mainly carrot, celery, and onion because they are such a great base in so many recipes.  I use them A LOT and always have some in my fridge.

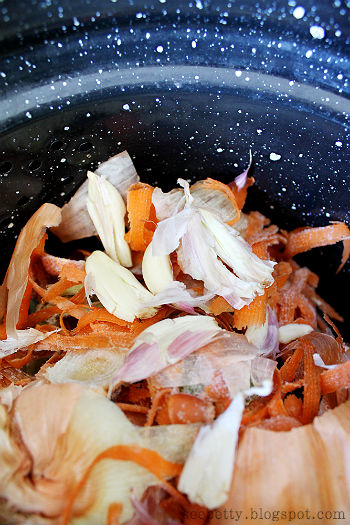
In this batch I have celery ends and leaves, green onion ends, carrot tops and peels, onion and garlic pieces and peels (yes even the 'papery' outside,) and the tops and seeds from bell peppers.  Seriously, you can use everything!  Maybe not jalapenos, but that's up to you.  ;)

Chances are you're not going to fill up your bowl right away.  After I add my scraps to it, I keep it in the freezer, taking it out to add more any time I have more veggies to cut up.  When the bowl is filled it's time to make stock!


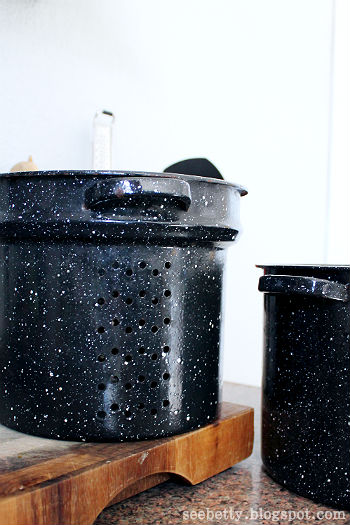
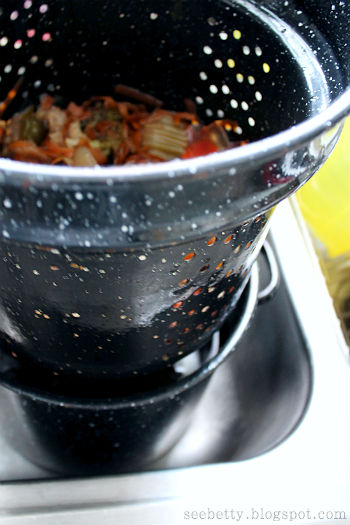
You'll need a big pot to boil it all in.  Anything that will hold at least a gallon of water will work.  I use this stock pot with the hole-y insert for easy straining.

Just dump all your veggies right in!  You can adjust your flavors depending on what you've got in your veggie collection.  I usually decide to add more garlic so I smashed 5 extra cloves and tossed them in, paper and all.


Then I added some simple spices that I have on hand: bay leaf, salt, and pepper.  Adjust these to your preferences.  I used about 2 teaspoons of each.


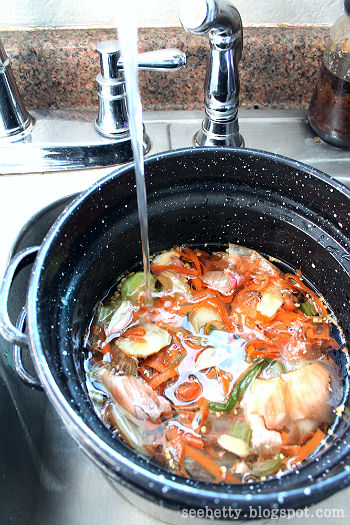
Next, fill your pot up with about a gallon of water.


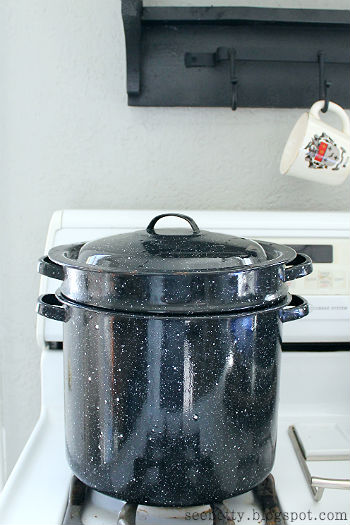
Bring your veggies to a boil and then turn the heat down a bit and let them simmer.  I let mine go for about 3 hours.


And that's all it takes to get your homemade veggie stock started!  It takes awhile to boil, but throw it together in a few minutes and then forget about it while you get other things done around the house.  It's that simple.  Great for a lazy Sunday or day off ritual.

After 3 hours of simmering, I have this:


Turn the heat off and forget about it once again until your stock is cool enough to safely handle.

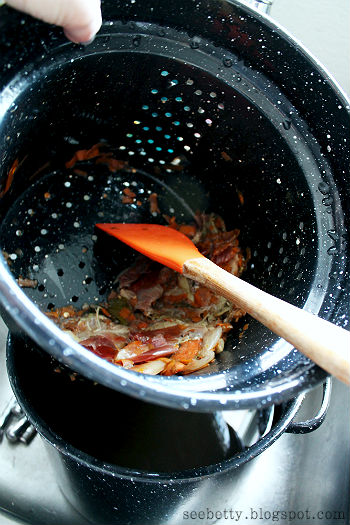
Strain it into another bowl using a colander.  This will take care of all the big chunks of vegetables.  I use a spoon to squeeze as much liquid from the leftover veggies as possible.  Don't want to leave any flavor behind!


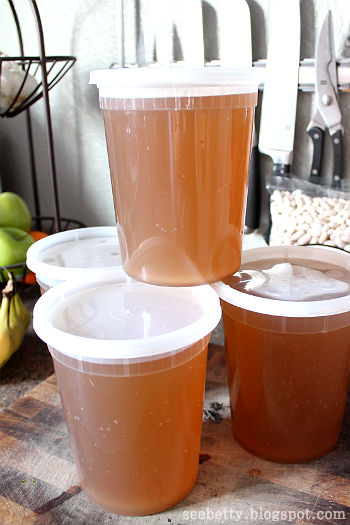
Once I have all the bigger pieces out, I use my glass measuring cup to carefully pour the stock through a fine mesh strainer and into my plastic containers.  (You can use a cup, ladle, or just try pouring straight from your pot!  Work with whatever you have on hand.)  This takes care of any remaining little bits that are in your stock.  If you don't mind them, you can always skip this step.


Here's an example of what I had leftover in my strainer after pouring the whole batch through it.  This just takes care of the bay leaf bits and any seeds or small debris leaving a pure and smooth broth.


And that's it!  With what I would've tossed in the garbage, I now have 4 quarts of simple, healthy veggie broth on hand for practically NO COST and little effort.  There's no beating that.

I keep them in the freezer unless I know I'll be using some right away.  That way I always have some on hand.  It's great to have a stash when I need it and can be a lifesaver when I want a quick dinner fix.

Soup!


I'll be trying out this delicious sounding sauce from Pinch of Yum for tonight's dinner, using my homemade veggie broth as the base!  I can't wait to try it.

Is this something that you'll start doing?  What would you make with your homemade veggie broth??  If you have a great recipe, feel free to share!

Thanks for reading!


betty signature

Wednesday, March 5, 2014

Yogurt Inception

Did you actually come here to read this?  That's awesome, but I'm going to warn you;
It's yogurt, on yogurt, on yogurt up in here.

I have a slight problem when it comes to ice cream.  Admitting that you have a problem is the first step, right?

I love making homemade treats that I can have around to indulge in without feeling too guilty.  I've been dying to try making my own frozen yogurt concoctions and I was hit with a wave of motivation after my diy yogurt actually turned out amazingly.

After a bit of internet research I felt confident enough to borrow my mom's ice cream maker.  I wanted to put together the most basic recipe I could without sacrificing deliciousness for healthfulness and here is where I ended up -

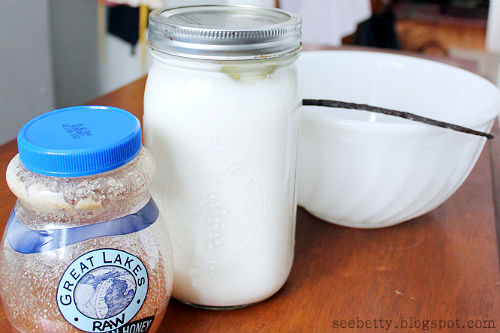
I used only 3 ingredients: raw local honey, my own homemade plain yogurt, and one vanilla bean.  And apparently that's all you need because it turned out amazing.


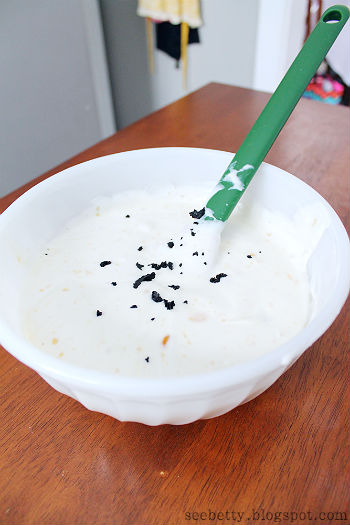
I dumped the whole quart of yogurt into a bowl along with 2-3 heaping tablespoons of honey.  You can add more or less depending on how sweet you want it, but a couple big tablespoons was plenty for me!  I do like it to keep some of the yogurt's tartness.


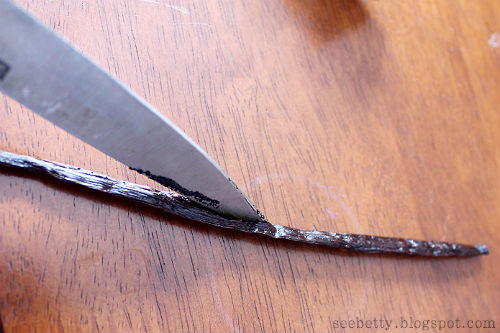
Then I took my vanilla bean and carefully sliced it right down the middle with a paring knife to open it up.  Use the knife to scrape the tiny seeds out into the bowl.

I'm sure you could probably just use a couple teaspoons of vanilla extract too, but I had some beans on hand and I figured "why not?!"  They do add some character to the finished product.


And who doesn't like their dessert with some character?  That's like, the number one thing you're thinking about when you dive into a quart of froyo, right?

Yeah...  Didn't think so.  So throw a couple splashes of vanilla extract in there.


Now give the yogurt a nice mix just until everything is swirled together.


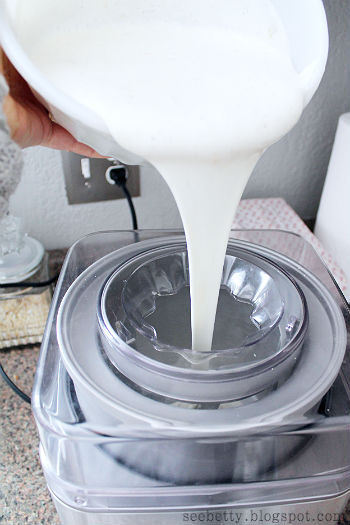
Now you'll want to follow your own ice cream maker's manufacturers instructions.  For my Cuisinart here I just pop in the freezer bowl and mixing paddle.  Turn the switch to the 'on' position and once it's started, pour my yogurt mixture right in the top.


All that's left to do is just try to forget about that incredibly simple and tasty treat you have coming and pat yourself on the back...

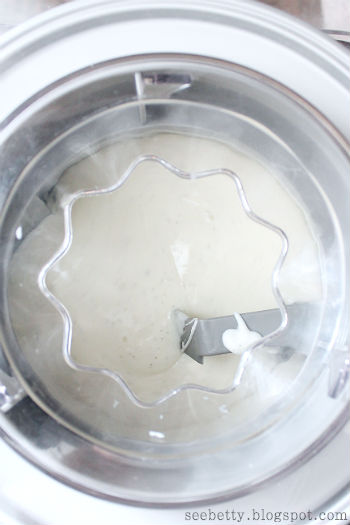
Sure.  Or you can hover over the machine for 30 minutes like I did.  Watching your honey and yogurt concoction go from this - 


To this - 


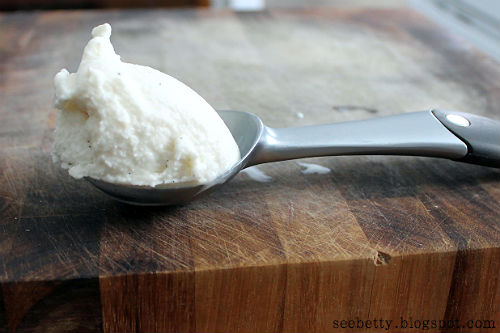
Glorious.


If you check back on your yogurt after 30 minutes and it doesn't seem as firm as you'd like, just let it go another 5 minutes or so.


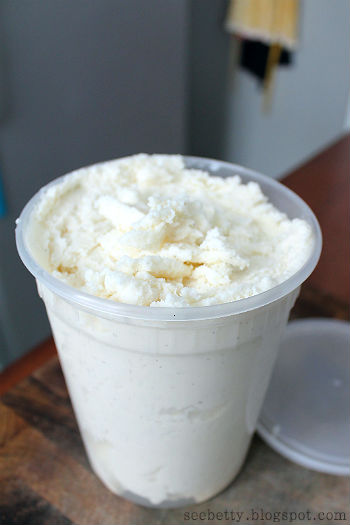
I packed all that goodness into a freezer-safe container for later days.  These are actually Chinese food containers that we ordered on Amazon a while back.  They have a good thickness to them and tight sealing lids, great for holding hot or cold foods.  These are my favorite storage containers and they stack together so nicely!  Not to mention they're pretty cost efficient too.  Here are some similar.


That bowl lasted about 12 seconds.  This stuff is seriously tasty.  It came out just like I wanted and I love knowing that with just 3 simple ingredients that I always have on hand, I can have this whenever I want.  Ah...life is good, people!


This frozen yogurt is just begging to be customized with toppings, don't you think??  Maybe some more honey and granola?  Cinnamon?  Fruit, chocolate, pecans...you get my drift.

Enjoy and thanks for reading!


betty signature

Tuesday, January 14, 2014

Jumping on the Bandwagon.

First real post since my holiday hiatus and I want to share something real special with you for our 2014 reunion.  My favorite change that I made to the house in recent months:

Drum roll, please...

...


.....


......


........


OPEN SHELVING IN THE KITCHEN.


Something I've had my heart set on for some time, but I wanted to really weigh the pros and cons before I yanked the cupboards out and all that mess.  Not to mention the whole convincing of the Shauny.  I try to include him in these things since I guess it is his house too.  ;)


(Took pics in the middle of swapping out the white knobs for shiny brass!)


These shelves are just about my favorite thing in general.  I made them a while ago from the frame of my old water bed from high school.  Haha.  That just sounds funny to me.  I spied the old frame pieces in the rafters of my parents' garage one day and decided they had a higher purpose to serve.

I sanded, stained, and poly-ed until they became just what I was looking for in kitchen shelves.  I've had them on a couple different walls in here until I finally decided to go for it and take out those upper cabinets.


I'm in love and now that they've been up for a couple months I am sure I made the right decision.  Space is not something I can afford to waste in this kitchen and I felt that there was a lot of wasted space with the cabinets.  ESPECIALLY the corner cabinet.  I couldn't reach anything that wasn't right up front and that was on the lower shelf.  The upper shelf?  Forget it!  Now all of my things are within my reach, even on the higher shelf.  It's quite liberating.


Not only the accessibility, but the look of open shelving has always been appealing to me.  I get to put my collection on display.  And for a person who loves her things this is very gratifying.  I also keep daily essentials right out in the open.  Convenient and cute in their glass jars.


I don't have any problems with dust because I've filled my shelves with things that are in pretty regular rotation and used daily or weekly.  My stove isn't nearby so I haven't had to worry about grease.  However, that will eventually change as the plan is to move the stove to the area where the fridge currently sits.  I'll have to keep you updated on that aspect.

My shelves are very sturdy.  I used basic, nothing fancy brackets from Home Depot appropriately sized for my shelf depth and weight.  We also made sure that the brackets were placed correctly to screw into the wall studs.  I have a ton of crap on them, including my heavy dutch oven, and they remain stable.  It was a lot of stud finding, measuring, drilling, re-drilling, and hole-filling (as for those last two, we just suck at finding studs) but worth it for the end result.


Open shelves aren't for everybody, but they are for me!  If you're considering them for your space, do your research and weigh the pros and cons.  There're lots of great examples to look at on the internet.  One thing that I did before deciding on them was to find and read about other bloggers who turned to open shelving and reviewed their performance thus far.


If you have any questions on these babies that I haven't thought of feel free to ask!

This setup has been a major design trend in recent years, but I think its here to stay for a while.  Would you ever take the plunge into open shelving in your kitchen?  Have you already?


betty signature

You might also like:

Related Posts Plugin for WordPress, Blogger...