Wednesday, March 5, 2014

Yogurt Inception

Did you actually come here to read this?  That's awesome, but I'm going to warn you;
It's yogurt, on yogurt, on yogurt up in here.

I have a slight problem when it comes to ice cream.  Admitting that you have a problem is the first step, right?

I love making homemade treats that I can have around to indulge in without feeling too guilty.  I've been dying to try making my own frozen yogurt concoctions and I was hit with a wave of motivation after my diy yogurt actually turned out amazingly.

After a bit of internet research I felt confident enough to borrow my mom's ice cream maker.  I wanted to put together the most basic recipe I could without sacrificing deliciousness for healthfulness and here is where I ended up -

I used only 3 ingredients: raw local honey, my own homemade plain yogurt, and one vanilla bean.  And apparently that's all you need because it turned out amazing.
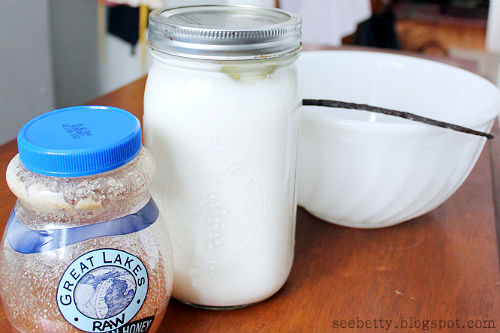


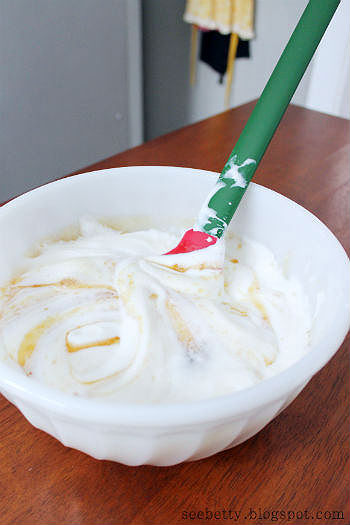
I dumped the whole quart of yogurt into a bowl along with 2-3 heaping tablespoons of honey.  You can add more or less depending on how sweet you want it, but a couple big tablespoons was plenty for me!  I do like it to keep some of the yogurt's tartness.


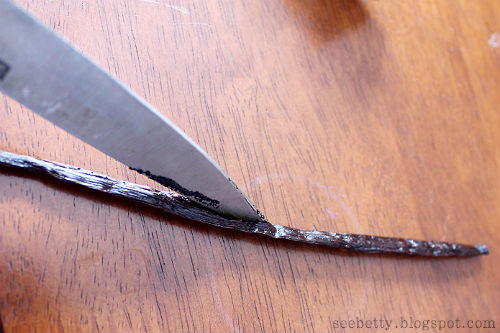
Then I took my vanilla bean and carefully sliced it right down the middle with a paring knife to open it up.  Use the knife to scrape the tiny seeds out into the bowl.

I'm sure you could probably just use a couple teaspoons of vanilla extract too, but I had some beans on hand and I figured "why not?!"  They do add some character to the finished product.


And who doesn't like their dessert with some character?  That's like, the number one thing you're thinking about when you dive into a quart of froyo, right?

Yeah...  Didn't think so.  So throw a couple splashes of vanilla extract in there.


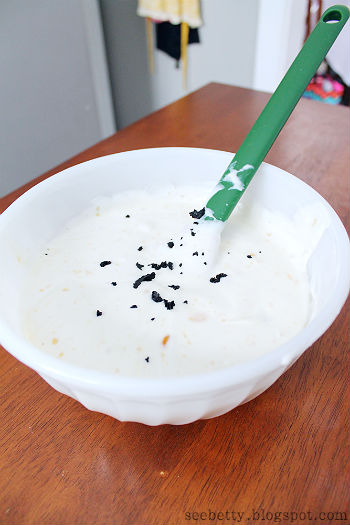
Now give the yogurt a nice mix just until everything is swirled together.


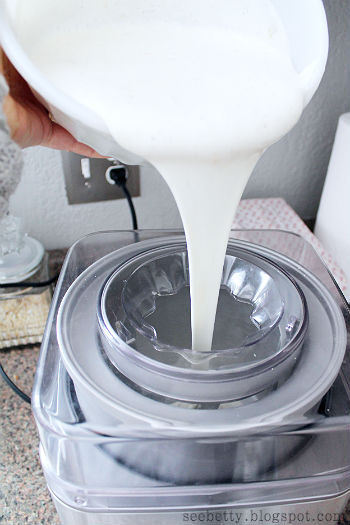
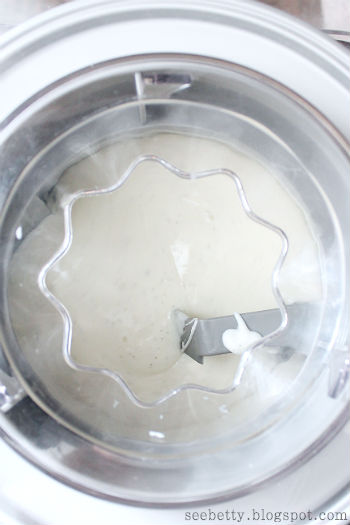
Now you'll want to follow your own ice cream maker's manufacturers instructions.  For my Cuisinart here I just pop in the freezer bowl and mixing paddle.  Turn the switch to the 'on' position and once it's started, pour my yogurt mixture right in the top.



All that's left to do is just try to forget about that incredibly simple and tasty treat you have coming and pat yourself on the back...

Sure.  Or you can hover over the machine for 30 minutes like I did.  Watching your honey and yogurt concoction go from this - 


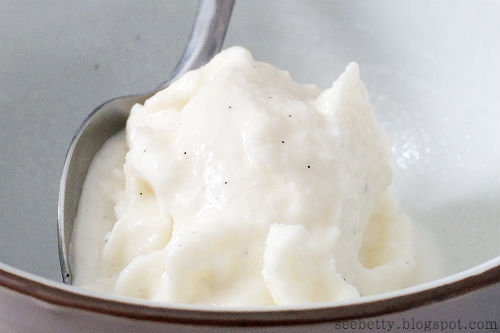
To this - 


Glorious.
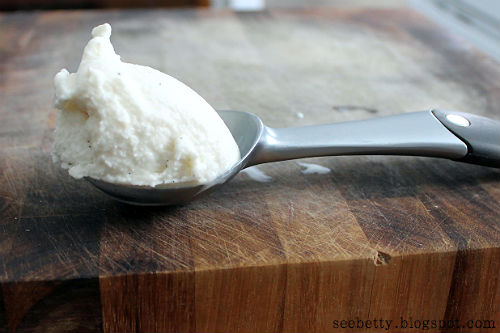


If you check back on your yogurt after 30 minutes and it doesn't seem as firm as you'd like, just let it go another 5 minutes or so.
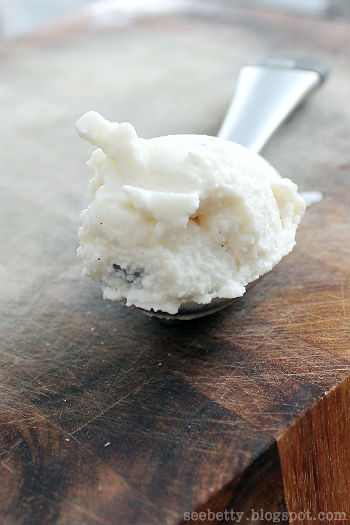


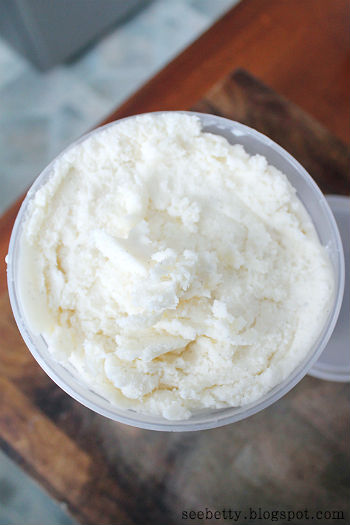
I packed all that goodness into a freezer-safe container for later days.  These are actually Chinese food containers that we ordered on Amazon a while back.  They have a good thickness to them and tight sealing lids, great for holding hot or cold foods.  These are my favorite storage containers and they stack together so nicely!  Not to mention they're pretty cost efficient too.  Here are some similar.
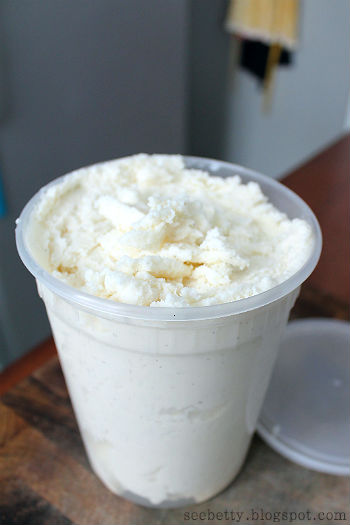


That bowl lasted about 12 seconds.  This stuff is seriously tasty.  It came out just like I wanted and I love knowing that with just 3 simple ingredients that I always have on hand, I can have this whenever I want.  Ah...life is good, people!
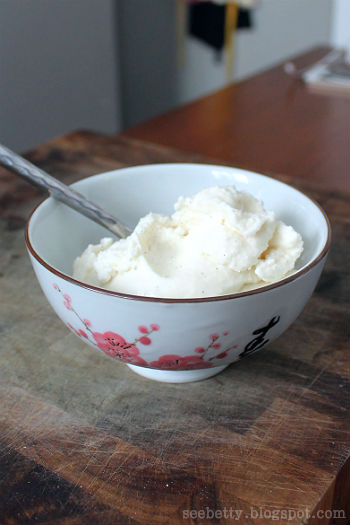


This frozen yogurt is just begging to be customized with toppings, don't you think??  Maybe some more honey and granola?  Cinnamon?  Fruit, chocolate, pecans...you get my drift.

Enjoy and thanks for reading!


betty signature

Monday, March 3, 2014

Updating A Lampshade

It's likely that this is not the ugliest lamp shade you have ever seen.

Still...I wanted to put a grown woman spin on this lamp that I inherited from my younger sister's old high school bedroom.  And by "inherited," I mean "stole."

Don't look at me like that, it's been collecting dust for years.  And because I'm kinda dangerous like that I love knowing that she'll find out if she reads my blog.  (She won't.)


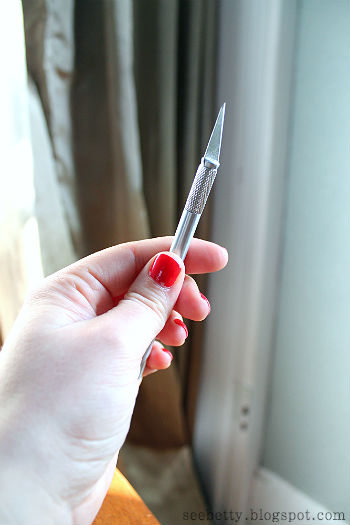
Even though it's just a cheapy little lamp I love the lucite look and wanted to go simple and chic with a black shade.  My first thought was to remove the sequins and paint the shade with black fabric paint.  I started off using a seam ripper.


It appeared to be the obvious choice, but after a few minutes I switched to my craft knife and it went a lot faster.  Still, it took 40 minutes to carefully remove all of the sequins.  Only to realize that painting the fabric wasn't going to work.


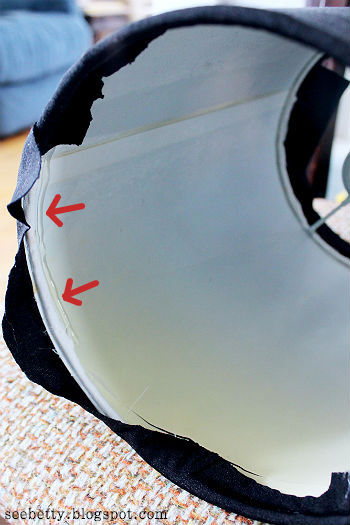
As you can see in the next photo, the threading left behind knots that I couldn't fully remove without completely destroying the fabric.


New plan:  Completely remove the old fabric and Mod Podge on some black fabric.  I always have an abundance of fabric scraps and leftovers.

And obviously I hoarded the sequins away for future crafting.  I didn't spend 40 minutes picking at those things for nothing!


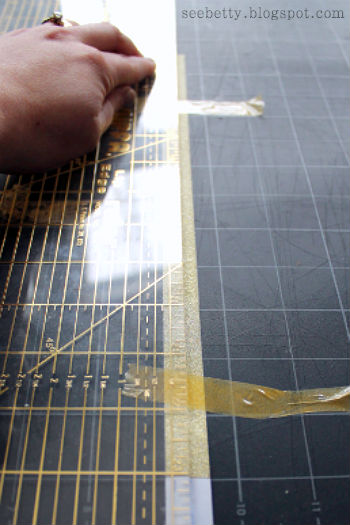
First I found a suitable piece of fabric.  It's a weird, slightly shiny, VERY stretchy type but it worked fine.  I laid it down on my cutting mat with the shade on top and rolled it around the fabric to eyeball what size I needed to cut.  Then sliced off a piece with my rotary cutter.

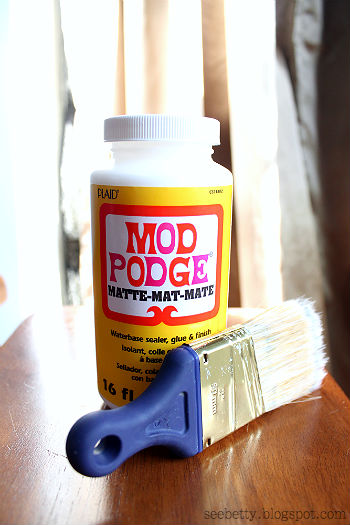
I got my Mod Podge out and trusty shorty paint brush (I didn't even bother with a craft brush) and I got to work painting the entire outside of the shade with a generous amount of Mod Podge.


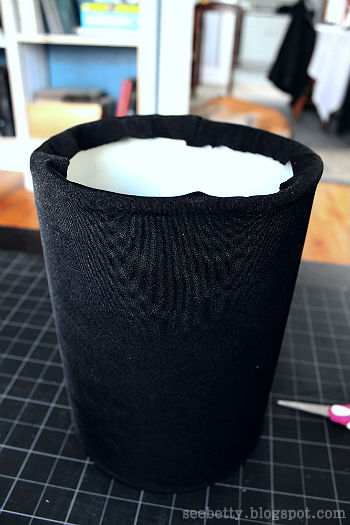
Then, working quickly, I rolled the fabric right onto it making sure that it stayed even on either side.  I smoothed out any wrinkles/bubbles along the way and slightly overlapped the edges that came together with some extra Mod Podge.

Then I left it to dry for about 15 minutes.


The camera was picking up a weird pattern in the fabric that I promise is not even visible in person.

Once it was dried I plugged in my hot glue gun.  I worked in sections, running a 2-3 inch bead of glue down the inner edges of the lamp shade, and folding in the extra fabric.  As you can see I left my fabric edges very choppy.  You don't have to do that.  I was just being sloppy.


That's that!  I'm a big fan of quick simple fixes and I'd say this one qualifies.  I did consider brushing on another coat of Mod Podge to really seal the fabric, but it's holding up great and looks great so why bother?  If it goes south I'll be sure to update you!


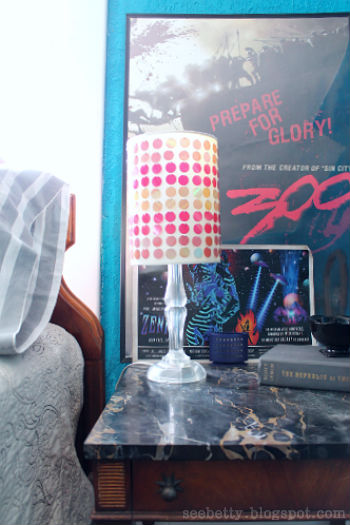
Having the black fabric shade has dimmed the light a bit and that is fine by me.  It was fairly bright before and now it has a beautiful glow.


Here's a little flashback.


A slight improvement, but an improvement nonetheless!  What do you think??  Would you have left it as is or gone for the upgrade?

Thanks for reading!


betty signature

Wednesday, February 26, 2014

Recycling Jars Into Glittery Accessories

This is nothing new by any means, but I finally got around to purchasing some Washi tape and having my share of the fun.

I like to save my used glass jars for future purposes instead of just tossing them in the recycling bin.  It does become a slight hoarding-type problem when they build up (and sometimes I just have to learn to let go and toss them into the recycling,) but that's why I like to find any reason I can to re-purpose them.

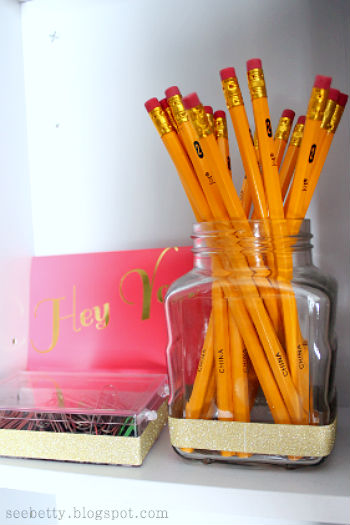
I was already using a couple to contain the writing utensils on our desk.  I knew they needed a little spiffing up, but I hadn't really gotten to that yet.


Until I found this super pretty gold glitter Washi tape in the dollar section at Target.


I love how much this upgrades a plain glass jar compared to how amazingly simple and quick (and cheap) this little craft is.  A little glitter goes a long way!

I started out by using a cotton ball doused in rubbing alcohol to wipe down the sides of the jars where I would stick the tape.  This was just an extra precaution to make sure it sticks good and none of my greasy finger prints are in the way.


Then I just wrapped the tape around the jar to see how much length I would need and cut.  Remove the backing and stick it around the jar wherever you please!  Make sure you keep it level all the way around, if you're going for the even look.  It is very forgiving so I was able to lift it back up a bit and re-place it if it started to look a bit wobbly.


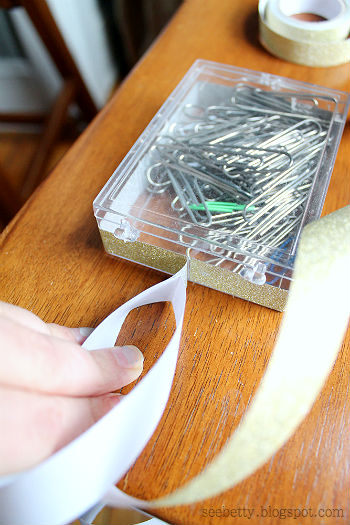
I also put some around this little acrylic box that I keep my paper clips in.  It's just the container that I saved from buying push pins, but it looks so intentional when I dress it up with the Washi tape.  These are great little boxes to save.  They look good anywhere and keep your tiny things organized.  I would even like to save a few for jewelry storage.


I tried a slightly different technique with the tape here.  I didn't cut it beforehand.  I just peeled the backing off as I went and stuck it all the way around.  When I got to where I started, I overlapped the tape a bit and then just sliced down the overlapped part with my craft knife.


Both ways worked just as well, but overlapping and then using my craft knife made for slightly cleaner cut edges where the two ends meet.


Ta-Da!  Matching set.

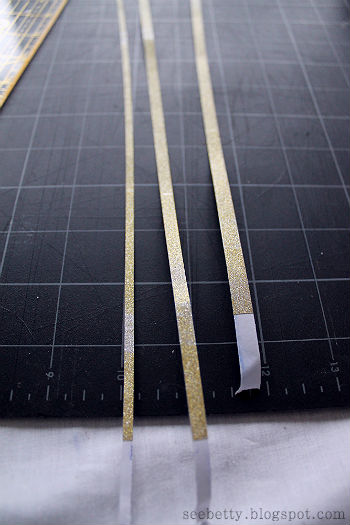
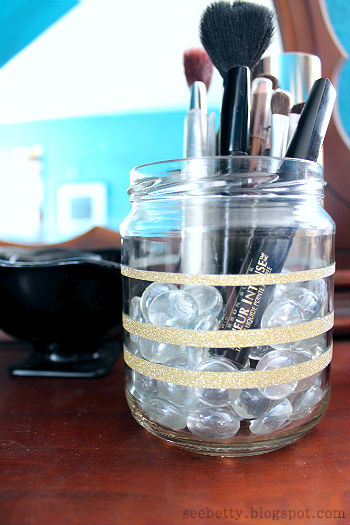
I added some glitter to my makeup brush jar as well.  This time I decided to go for a slightly different look by cutting the Washi tape into unequal portions and sticking them on my jar spaced apart.


I did try using a bit of tape to keep it from moving around while I used my craft knife and ruler to cut it into thin strips, but it ended up doing more harm than good.  The tape didn't seem to want to move as much as I had anticipated and when I removed the tape, it took off some of the gold coloring leaving silvery glitter.  So that was pretty much pointless.

It's cool with me, but next time I would skip taping it down.


I love how it turned out!


Ah, I love a good upgrade...

Especially when it only costs me $1.

Now I'm off to go hunt down more crap to cover in glittery tape.


betty signature

Monday, February 24, 2014

Trash to Treasure

Isn't this a gorgeous little box shelf??


You wouldn't believe that it started out as a banged up drawer to some long-forgotten, unknown piece of furniture.

Oh, and that it has been sitting on the dining room floor shoved under the pew collecting animal hair and bags of old silverware.

What?  You would believe that?  Okay, I see we're getting to know eachother...

Wednesday, February 19, 2014

My Life Just Got A Bit Fancier

As you know by now, I've been keeping something from you.

You wanna know what slows me down?  Blog pictures.  I haven't yet found a great editing routine that works for me, but I'll keep at it!

So here's the something:


 (And in case you were wondering about me, I do let sleeping dogs lie.)


Let me just start out by saying that I scored this beauty at the Restore for a whopping $4.  Yeah...seriously.  I found it soon after I walked in and clutched it with white knuckles until I was done browsing the rest of the store.  Just be patient and keep going back to places and searching.  I promise you will eventually get lucky with lighting, especially if you're looking beyond appearances and willing to put in a little elbow grease.

But here's how it all had to start out:


First things first, I used blue painters tape to cover the tops of the "candles" where the bulbs would screw in.  Don't want to get paint in there!


Then I proceeded with a spray painted coat of Rustoleum's gray primer and three coats of their hammered copper.


When I got ready to wire this baby to the ceiling is when I realized that I had to rewire the base (not each of the individual arms, thank goodness) because the chain/cord wasn't quite long enough to be swagged over my table.

I wanted it to have enough slack to swag over and hang down about 30-32" from the table top (as is standard, according to my Google research.)  I went to Home Depot and picked up about 5 feet of black chain and standard lamp cord, both of which they sell in bulk from huge rolls of the stuff.  The lamp cord was, I believe, 18 gauge and brown in color.

For some insight into how tedious this was here are the pictures I took along the way to make sure I put it back together properly!


Once I got it all put back together with brand new wire and chain, Shaun helped me wire and mount it to the ceiling.  He really is a lovely man when he tries.  All that was left then was screwing in the ceiling hook so that it could be swagged over the table...

You guys, I have gotten to type 'swag' so many times in this post.  Success.

And yeah, then it stayed hanging in the middle of the room for a full week while Shaun "rested his arms."

But now it looks like this!


Perfection.  :)


betty signature

Monday, February 17, 2014

Visualizing My Dining Room in a New Hue

No project here today!  Although I'm working on a few different ones as we speak...

Just a little friendly chit chat.  I'm getting that painting itch again and I need somebody to confide in and well, let's face it, my blog has nowhere to hide.

And any how Shaun doesn't wanna hear it.  He prefers it when I just work my magic on the house while he's at work.  He wants no part of my DIY and crafting!  Unless I start decoupaging space ships or something.

It's quite a bold move, but I'm dreaming of a fresh coat of black paint in my dining room.

A bold color choice like this is not something I take lightly, as it could go very wrong.  Like in a my-high-school-bedroom, red walls/black ceiling sort of way.  Which was cool in high school, but a little too bold for 26 year-old Betty.  I'm looking for something a bit more sophisticated these days.  Something lacking in the band poster department.  I wanted to take this color for a little test drive even before picking up any test pots.
Enter: Sherwin-Williams Paint Color Visualizer.

They have a few cool color tools and this was my first attempt at using one.  Fun and easy to use (and no they aren't paying me to say that.)  I'm a sucker for 'before and afters.'

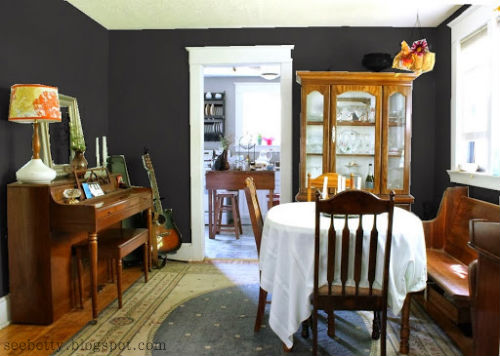
My dining room now:


This is a fairly recent picture of my dining room.  You get the idea.  It's currently painted in Behr's "Silver Screen," but I'm growing tired of the dull gray color.  I love my beautiful wood furniture and I just don't think it's very complimentary.

Now try this on for size:


My beautiful heirlooms seem to pop right off the wall now.  They look so much richer with the dark backdrop and my well-loved wood floor is beautiful again!  The color is "Black Magic" and I'm totally sold on it.  I think that, being a cool-toned neutral, it compliments the orange tone of my wood pieces perfectly.

On a side note, isn't my ceiling looking a bit dingy?  I think a fresh coat of soft white paint is past due.  Add that to the list.  As well as finding a new rug.  I'd love something more graphic.  Hell, why not just make a quick mood board?!


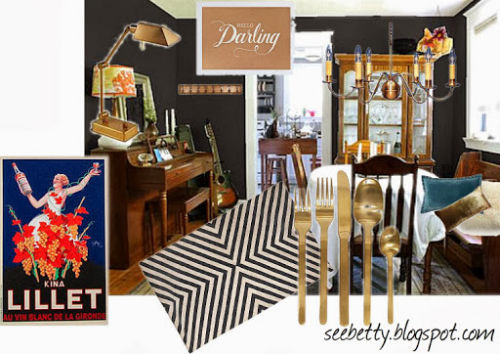
Doesn't it just all look so magical...?  I'm forever obsessing over the gold flatware.

This is my ideal endpoint for what I want my dining room to be.  Already have the Kina Lillet, wood-mounted wall hooks, brass task lamp to replace the oversized lamp on the piano, and the chandelier.  (Haven't shared that one with you yet, but I promise I'll post it soon!  I re-wired and painted a thrifted chandelier similar to the one pictured.)

I still need to add in some comfy pillows or cushions to my church pew and some more art.  I really like this "Hello Darling" print from Sugar Paper.  $50 for a small print is a little rich for my blood, but a DIY version may be in order.

Need to do some brainstorming about what to hang where those tired coconut baskets are.  They've gotta go.  I was thinking something earthy like a hanging terrarium..?

I'm finding this dining room more and more impossible to resist, so as soon as I find a spare day...

Thanks for reading!


betty signature

Tuesday, February 4, 2014

Kitchen DIY: Homemade Yogurt

DIY doesn't strictly apply to things like making your own jewelry or getting creative with some nailhead trim.  (See what I did there?  I linked you to a couple pretty amazing little DIYs.  You're welcome!)

It doesn't have to mean getting out the power tools.

I really get a kick out of making all sorts of things from scratch.  And I don't know about you, but scoring a great deal on anything is an unmatched adrenaline rush.  That's why when I stumbled on the idea of making my own yogurt for a fraction of the price, I went for it.  I spent a lot of time researching the process on the good ol' internets.  I found a lot of great information on different blogs and websites from people sharing their own trial and error advice.


One of those blogs was Bacon in my Pocket.  Ma Bacon sums it all up!  Choosing to make the plain yogurt (I always get plain greek yogurt and add flavor later with honey, granola, fruit, etc.) I followed her procedure exactly and it was a success.


The only differences:

  • I used full fat milk.
  • I used a 5.3 oz. cup of Chobani plain greek yogurt as my starter yogurt.
  • I left mine to incubate for the full 10 hours.


It came out perfectly thick and delicious.  As somebody who loves their yogurt, I couldn't be happier with the results.  I use it for sooooo many things; a substitute in many recipes (Shaun says these are his favorite pancakes now) and eating it for a light dessert with some honey and granola.  Which makes it all the better that it only cost me $3.28 for 4 quarts as opposed to the $22.76 I would spend for the same amount at the store!


This is definitely a diy that I will continue doing.  It's too easy not to if you have the time, why not?  I'm also a control freak and knowing exactly how, where, and with what my food is made is very appealing to me.  


I'm pretty impressed.  Never thought I'd be growing up and making my own yogurt and all.  Think you'll try this?


betty signature

You might also like:

Related Posts Plugin for WordPress, Blogger...