
Okay, so check out this chair. I found it at the local antique store for $7. It may not look awesome now, but I saw that frame and knew it was destined for something much greater...
BEFORE:


Honestly, I don't even find the original fabric that unappealing. Although what you can't see in the photos is that there were stains aplenty and a ton of fading on one half.
As some of you may have seen, I posted on my Facebook and Instagram a quick poll on which of 4 fabrics I should choose. This is the chair that I was fabric shopping for! I was at Joann's and just could not for the life of me settle on just one fabric.
Do any of you guys have that much trouble making such simple decisions when it comes to projects/decor? I drive myself nuts trying to think of every possible combination and how it will look with every other thing I own!
Here were the options I gave you:

Almost everybody chose the black and white! They are all such great options, which is why I had so much trouble choosing. My FAVORITE is the bottom left coral print, but I was worried that the print was more summery and would look out of place soon since Fall is on it's way (I'm probably reading waaaay too far into this.)
So I ended up walking out with the top right. I got the color I was dying for with a pattern that I feel stays really true to the original. I get a real kick out of paying homage to the original when and where I can.
AFTER:

So as far as re-upholstery goes, this was pretty much the easiest specimen to practice on. I don't wanna brag, but...this was my very first time even trying simple re-upholstery. Which seems totally weird because I have some very ugly dining room chairs that I should've re-done years ago...
Supplies that I used:
- screw driver
- ~1 yard of fabric
- iron
- scissors
- fabric adhesive
- cleaning solution and paper towel (I use 50/50 water & vinegar to clean most things)
- stapler

First I took out the 3 screws that held the seat onto the chair and gave the whole thing a good wipe down. It wasn't the filthiest thing so I just used my basic cleaning solution that I use for eeeeverything, water and vinegar.

Once I had the frame all cleaned up I ironed out my fabric that I had chosen. I wanted to make sure it was wrinkle-free before I got the whole thing put back together.
I can just see it now... I get the whole thing done, feelin' proud for about 30 seconds when I notice a wrinkle in the seat that will haunt me for the rest of my life.

I didn't do any extreme measuring when I cut the fabric to size. I just laid the seat on it and cut around, leaving myself enough to go around the sides and comfortably staple to the bottom.
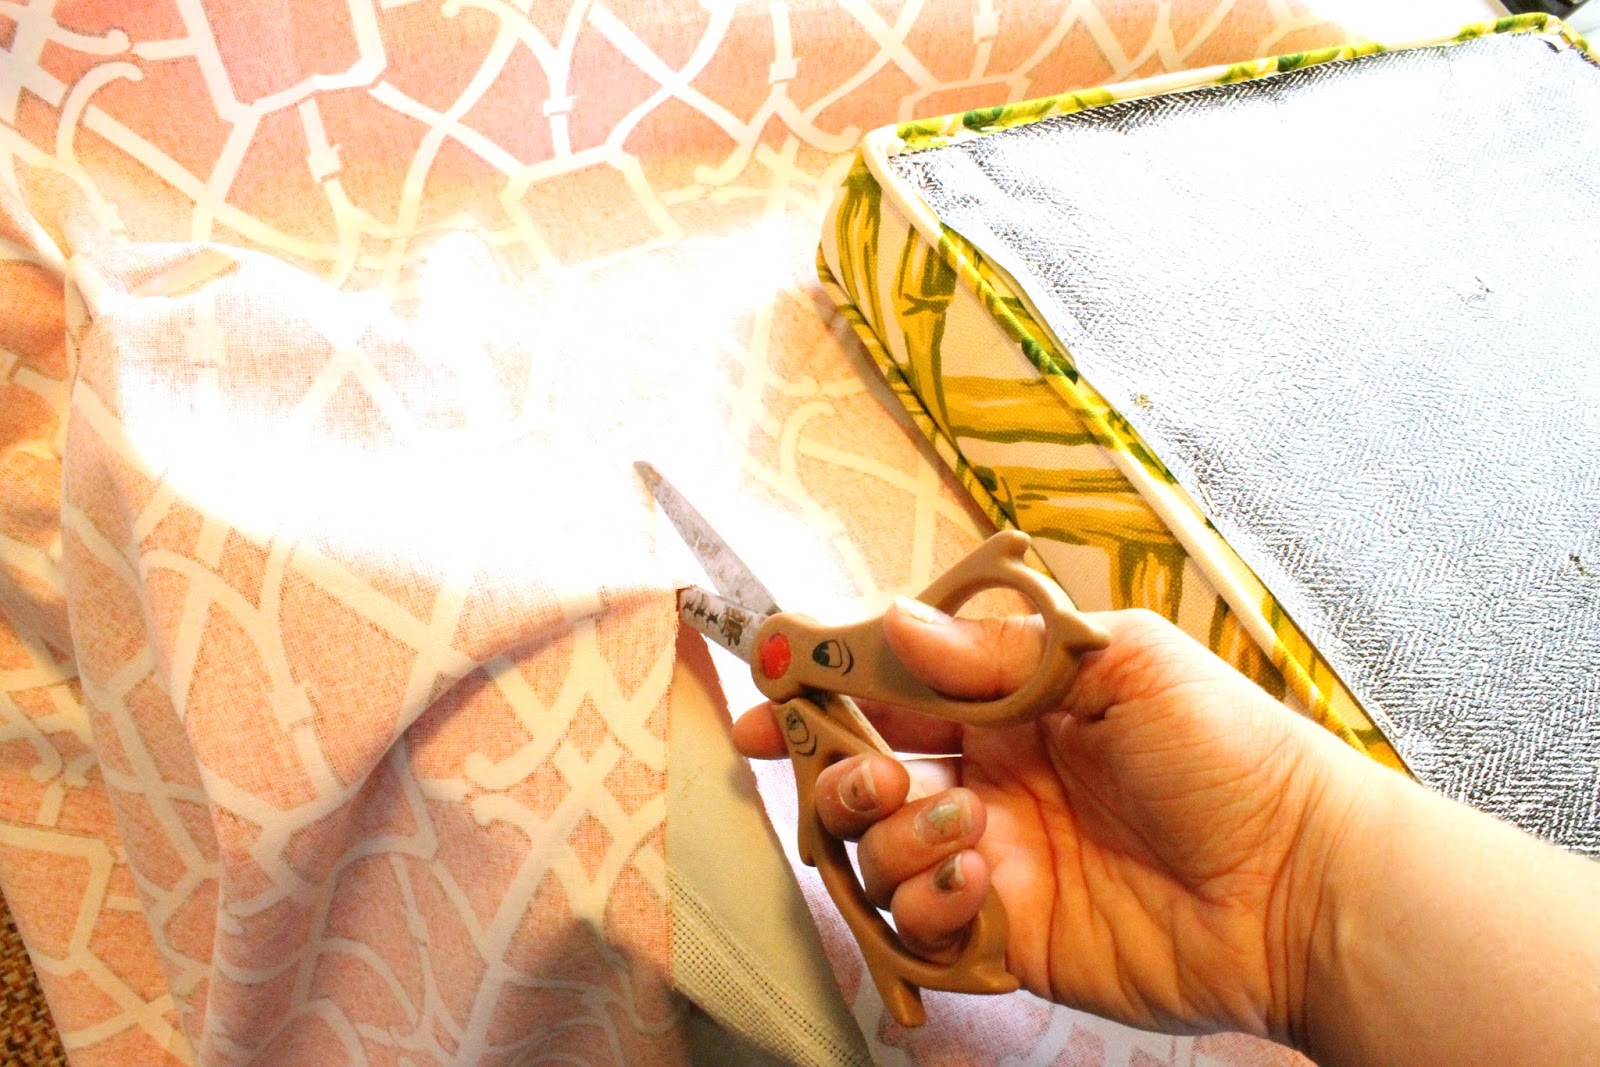
I used a spray on fabric adhesive on the back side of the fabric before I began stapling. This ensured that I could get my pattern centered where I wanted it and it wouldn't move or slide around on me. I suppose it was also good back up for keeping any wrinkles out of the situation as well.
I started at one end, we can call it the top, and stapled from the middle out to the left and then to the right making sure to keep my pattern lined up with the edge.

I moved next to the opposite side, the bottom, and did the same thing making sure to pull the fabric taut. Then on to the sides.

Here is a closer shot of the corners. I'm no pro at re-upholstering (or gift-wrapping for that matter,) but I just kind of went at 'em like I was wrapping a gift box. I'm sure there is a way to go about this, but they turned out fine by my standards!
Feel free to let me in on any insider tips from those of you that have done this before and know a thing or two. Feedback is always appreciated. DIY is a learning process and that's what I love about it!

And here she is! MISS AMERICAAAA!

Okay, maybe more like Miss Isabella County. Not bad for a first pageant though, am I right?? And I don't know about you guys, but seating is one thing that I can NEVER get enough of. I'd rather beef up my chair collection than scale down my dinner parties any day. There's always room in my home for an extra chair!
What's that one thing in your home that you just don't ever seem to have enough of?

Gah! Awesome!
ReplyDeletenice!
ReplyDelete