
It's likely that this is not the ugliest lamp shade you have ever seen.
Still...I wanted to put a grown woman spin on this lamp that I inherited from my younger sister's old high school bedroom. And by "inherited," I mean "stole."
Don't look at me like that, it's been collecting dust for years. And because I'm kinda dangerous like that I love knowing that she'll find out if she reads my blog. (She won't.)
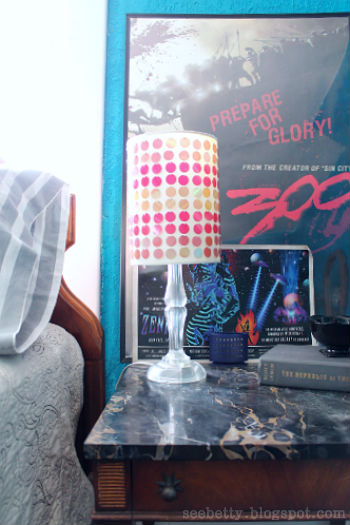
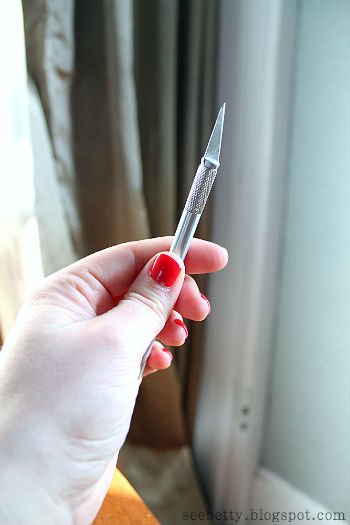
Even though it's just a cheapy little lamp I love the lucite look and wanted to go simple and chic with a black shade. My first thought was to remove the sequins and paint the shade with black fabric paint. I started off using a seam ripper.

It appeared to be the obvious choice, but after a few minutes I switched to my craft knife and it went a lot faster. Still, it took 40 minutes to carefully remove all of the sequins. Only to realize that painting the fabric wasn't going to work.
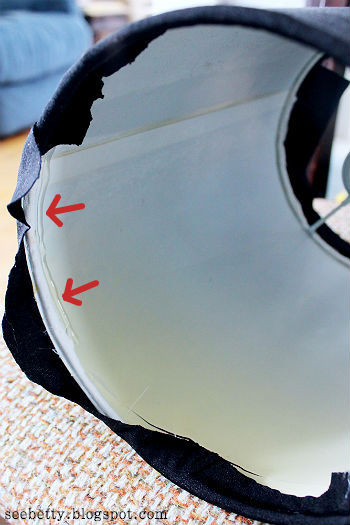
As you can see in the next photo, the threading left behind knots that I couldn't fully remove without completely destroying the fabric.

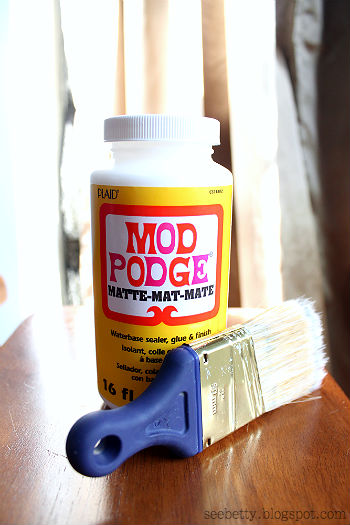
New plan: Completely remove the old fabric and Mod Podge on some black fabric. I always have an abundance of fabric scraps and leftovers.
And obviously I hoarded the sequins away for future crafting. I didn't spend 40 minutes picking at those things for nothing!

First I found a suitable piece of fabric. It's a weird, slightly shiny, VERY stretchy type but it worked fine. I laid it down on my cutting mat with the shade on top and rolled it around the fabric to eyeball what size I needed to cut. Then sliced off a piece with my rotary cutter.
I got my Mod Podge out and trusty shorty paint brush (I didn't even bother with a craft brush) and I got to work painting the entire outside of the shade with a generous amount of Mod Podge.
Then, working quickly, I rolled the fabric right onto it making sure that it stayed even on either side. I smoothed out any wrinkles/bubbles along the way and slightly overlapped the edges that came together with some extra Mod Podge.
Then I left it to dry for about 15 minutes.
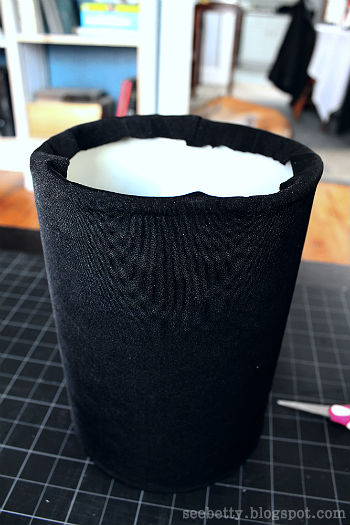
The camera was picking up a weird pattern in the fabric that I promise is not even visible in person.
Once it was dried I plugged in my hot glue gun. I worked in sections, running a 2-3 inch bead of glue down the inner edges of the lamp shade, and folding in the extra fabric. As you can see I left my fabric edges very choppy. You don't have to do that. I was just being sloppy.
That's that! I'm a big fan of quick simple fixes and I'd say this one qualifies. I did consider brushing on another coat of Mod Podge to really seal the fabric, but it's holding up great and looks great so why bother? If it goes south I'll be sure to update you!
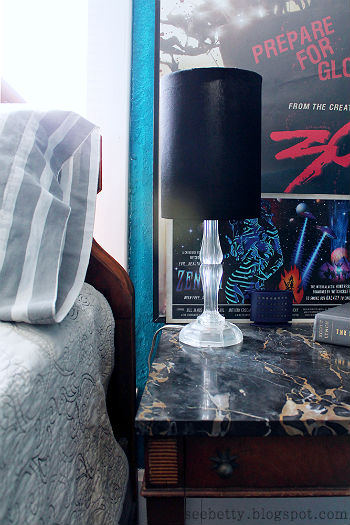

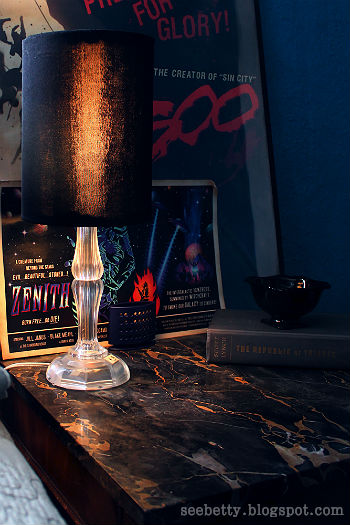
Having the black fabric shade has dimmed the light a bit and that is fine by me. It was fairly bright before and now it has a beautiful glow.
Here's a little flashback.
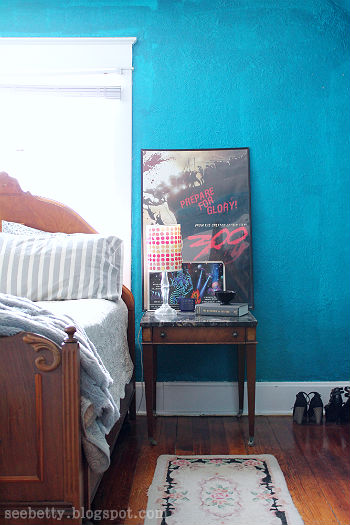

A slight improvement, but an improvement nonetheless! What do you think?? Would you have left it as is or gone for the upgrade?
Thanks for reading!

No comments:
Post a Comment