
This is nothing new by any means, but I finally got around to purchasing some Washi tape and having my share of the fun.
I like to save my used glass jars for future purposes instead of just tossing them in the recycling bin. It does become a slight hoarding-type problem when they build up (and sometimes I just have to learn to let go and toss them into the recycling,) but that's why I like to find any reason I can to re-purpose them.
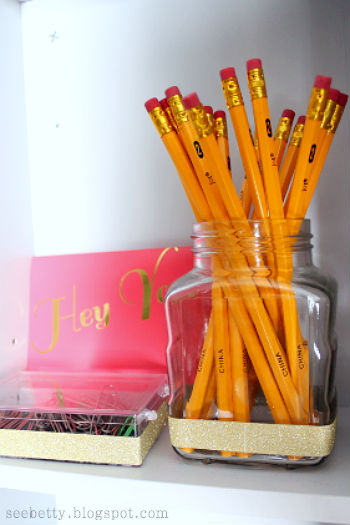
I was already using a couple to contain the writing utensils on our desk. I knew they needed a little spiffing up, but I hadn't really gotten to that yet.

Until I found this super pretty gold glitter Washi tape in the dollar section at Target.

I love how much this upgrades a plain glass jar compared to how amazingly simple and quick (and cheap) this little craft is. A little glitter goes a long way!
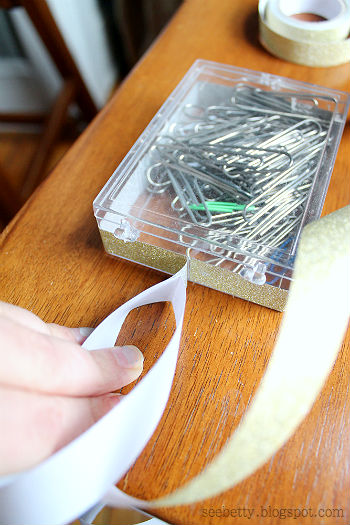
I started out by using a cotton ball doused in rubbing alcohol to wipe down the sides of the jars where I would stick the tape. This was just an extra precaution to make sure it sticks good and none of my greasy finger prints are in the way.

Then I just wrapped the tape around the jar to see how much length I would need and cut. Remove the backing and stick it around the jar wherever you please! Make sure you keep it level all the way around, if you're going for the even look. It is very forgiving so I was able to lift it back up a bit and re-place it if it started to look a bit wobbly.

I also put some around this little acrylic box that I keep my paper clips in. It's just the container that I saved from buying push pins, but it looks so intentional when I dress it up with the Washi tape. These are great little boxes to save. They look good anywhere and keep your tiny things organized. I would even like to save a few for jewelry storage.

I tried a slightly different technique with the tape here. I didn't cut it beforehand. I just peeled the backing off as I went and stuck it all the way around. When I got to where I started, I overlapped the tape a bit and then just sliced down the overlapped part with my craft knife.
Both ways worked just as well, but overlapping and then using my craft knife made for slightly cleaner cut edges where the two ends meet.

Ta-Da! Matching set.
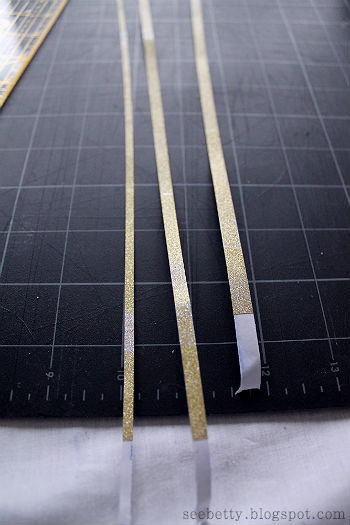
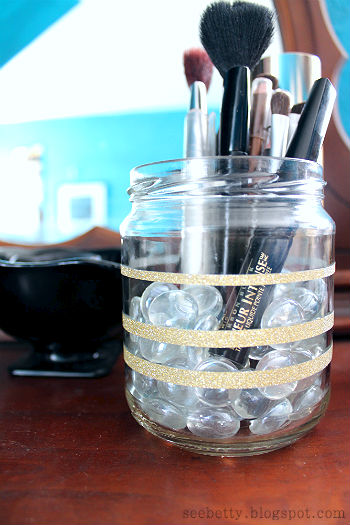
I added some glitter to my makeup brush jar as well. This time I decided to go for a slightly different look by cutting the Washi tape into unequal portions and sticking them on my jar spaced apart.
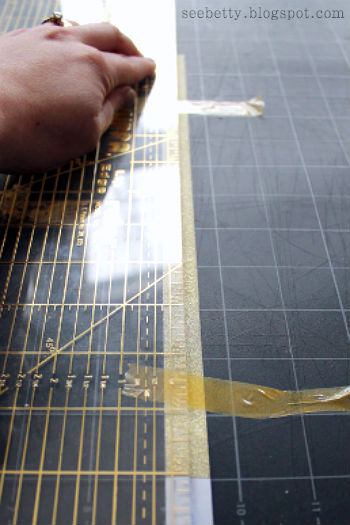
I did try using a bit of tape to keep it from moving around while I used my craft knife and ruler to cut it into thin strips, but it ended up doing more harm than good. The tape didn't seem to want to move as much as I had anticipated and when I removed the tape, it took off some of the gold coloring leaving silvery glitter. So that was pretty much pointless.
It's cool with me, but next time I would skip taping it down.

I love how it turned out!
Ah, I love a good upgrade...
Especially when it only costs me $1.
Now I'm off to go hunt down more crap to cover in glittery tape.
No comments:
Post a Comment